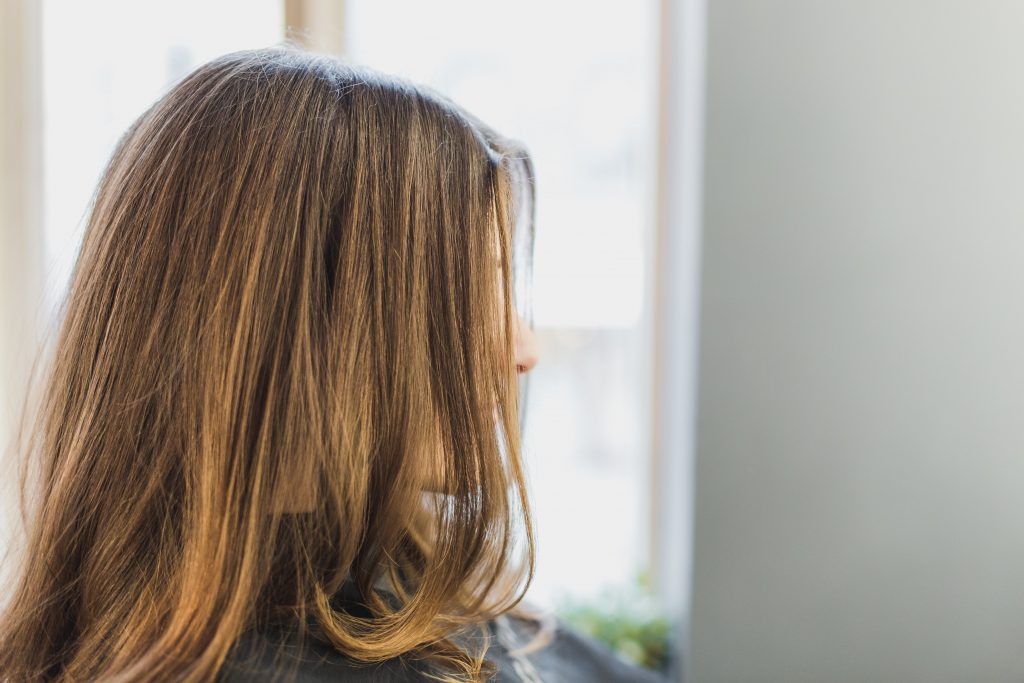
Bangs
“Trimming your bangs at home is the thing you tell people never to do, but now you may need to,” says Faith Huffnagle, Director of Education at Prose. “The reality of it is because there’s not a person in front of you cutting the bangs, they might always be crooked.” If you have a roommate, enlist them to spot check you. Get a really sharp pair of hairstyling scissors. If your local beauty supply store is still open you can buy them there, or Amazon is an option. Using kitchen scissors is a bad idea because they’re too dull and can cause split ends on a microscopic level that your naked eye won’t be able to see.
Standing in front of a mirror, place a paper towel underneath you or something to pick up the clippings. Separate your bangs into three parts: the middle and two sides. Hold your hair with normal tension—if it’s too tight, the cut will be too short. Make sure it’s really straight and gather it between your middle and index finger. Do your first cut in the dead center, above your nose, and cut a straight line just below your fingers. Leave it longer than you think you should because you can always go shorter when straightening it out. After every cut, drop the piece of hair and take a look at it. If it isn’t straight, then take the shears and lay one blade lay on your forehead and trim across with little baby cuts so it looks straight. From that middle place, take another small section next to it, bring your fingers down the same way, and work your way across your fringe. If you find it easier, you can use a comb instead of your fingers. Make sure to keep some space between your bangs and forehead so that you don’t accidentally cut your eyebrows.
If you have curly hair, you’ll need a different method, cutting curl by curl. Don’t pull your hair down. Instead, pick up each curl, cut it, and use it as a guide and pick up the one next to it. Start from the middle and go to each side.
Touch up roots
We’ve all seen those memes about how we’ll know everyone’s real hair color in three weeks. When yours start to show, the best option is just to cover your roots—not dye your entire head. Typically, the biggest challenge isn’t actually dying your hair yourself, but choosing the right hue. “When people choose incorrectly, it might create a band of the wrong color and then the stylist has to remove that in the future,” Huffnagle says. During quarantine, some stylists have been preparing color for clients and shipping it, so see if that’s an option. If not, look for a kit that has “natural” or “neutral” on the label, since that will cover grays and blend in more easily with the rest of your hair. In case of a mix-up, it’s also easier for your stylist to fix.
If you have a roommate, enlist them to help, especially with the back of your head. Try to get a root touch up brush (which will only set you back $1 or so) and a bowl, which makes the application process easier and more precise, as well as gloves. “If you’re working from a bottle, make sure to protect surfaces because everything gets dyed in the bathroom and it’s super easy to squirt everywhere,” Huffnagle says. Have a mirror behind you and in front of you for maximum visibility. Separate your hair into four parts—two sections in the front and two on the sides. When you dip your brush into the color, just use a little so that there’s a line of color at the end of the brush. Then, within those sections, break hair into horizontal quarter inch sub sections and apply the color where you need to. Don’t be afraid to let the hair touch each other, which will help the color bleed through and cover roots. “You don’t have to worry about being super crazy neat; just don’t pull the color through to your ends and only dye whatever is needing color,” Huffnagle says. Once you’re done coloring it all, let it process and then shampoo. If you can wait until you see a pro, you can use a root spray in the meantime, or even mascara to cover grays if you have dark hair when you’re in a pinch.
Remove gel nail polish
It might be more tempting than ever to pick off your polish, but don’t! That damage will last a lot longer than your nail art did. Luckily, removing a gel mani at home isn’t the Herculanean task it might seem to be. Start by gathering all the necessary supplies. “You need a nail file, buffer, an orange wood stick (cuticle pusher), cotton balls, foil, acetone and Nails.INC Superfood Repair Oil,” says Lisa Logan, consulting manicurist for Nails.INC. Use the nail file and buffer to remove the shiny top layer of gel; this ensures that the acetone will penetrate the polish. Make sure to get as close to your nail bed and free edges as possible.” Then take a small cotton ball saturated in acetone and lay it on a small square of tinfoil. Fold the foil around your finger tightly; ensure that it is gripping the cotton ball to your nail. After about 10 minutes, check in to see if the polish is lifting. The base should be lifted too. Once all of the gel has been removed, shape and buff your nails and apply Superfood Repair Oil to hydrate and replenish nails, since acetone can have drying effects.
Facial
There’s never been a better time to whip up DIY face masks in your kitchen. “I do a great turmeric mask for instant glow and acne at home,” says board-certified dermatologist, Rita Linkner, MD FAAD, of Spring Street Dermatology and Assistant Clinical Professor, Department of Dermatology, Mount Sinai Hospital. It involves two tablespoons of turmeric powder, one tablespoon of chickpea flour, a half cup of plain yogurt and a teaspoon of honey. Mix and apply to your face for 10 minutes before showering, then rinse off thoroughly in the shower. “The purpose of the chickpea flour is to offset the strong color of the turmeric; this is needed or you will stain things,” Dr. Linkner says.
Eyebrows
You’re not the only one worried about looking like Groucho Marx by the time you can go out again. But the silver lining about quarantine is it’s ideal for giving your brows a rest and letting them grow in. “The biggest complaint I hear is I don’t see any brow growth,” says Sania Vucetaj of Sania’s Brow Bar. “Take advantage and let your skin and eyebrows breathe—don’t apply any creams or moisturizers over them, since they inhibit growth, and you’ll see extensive growth.” Take a break from brow gels too, since that stickiness gets into the follicle and makes hairs shed. And hide your magnifying mirror! “It’s never good for brows,” Vucetaj says. “It will cause you to obsess, now that we’re bored. Your brows aren’t going to get crazy enough to tweeze them.” But if you really can’t leave those stray hairs alone, follow Vucetaj’s plan. Use her Angled Mechanical Brow Pencil to trace a precise shape around your brows. Step back from the mirror to make sure it’s symmetrical, then tweeze only outside of that. When you’re tweezing, pull hair by the root in the direction of the growth to prevent breakage and ingrowns. Use alcohol to keep the tips of the tweezers clean. Always remember that less is more when it comes to plucking, and don’t tweeze more than every two weeks. “People go at it every day and that’s what gets you into trouble because there’s not enough hairs,” Vucetaj says. “If you’re going to stay inside anyway, take advantage and let your brows fully come in.”
Mani and pedi
If bare nails are getting you down, an at-home mani or pedi is the perfect way to indulge in self-care. Create a mini salon in your space by setting up all the tools. “For a dry manicure or pedicure, lay down a towel and have your nail file, cuticle pusher and clipper all at hand,” Logan says. Clip down your nails to your preferred length. Use a cuticle oil and a wood stick to push back your cuticles. Wipe the oil off with a hot towel and buff your nails before applying polish. Use a strengthening base coat like Nails.INC Nail Kale Superfood Base Coat, a high-gloss polish in a color of your choice, and follow it with Nails.INC 45-Second Retinol Top Coat.
Waxing
Sorry, but this is one you really shouldn’t do yourself. “As a board certified dermatologist, I wouldn’t advocate for at-home hair removal,” Dr. Linkner says. “You can get skin discoloration and folliculitis.” Plus, hot wax can lead to burns and you can accidentally remove layers of skin. Play it safe and embrace a razor for now. “Face Nair is something people can opt for,” Dr. Linkner says. “I always advocate doing a trial on your inner arm prior to using it on the face.”