Highlighting your hair at home? No problem. We have all the info you need on DIY highlights.
Whether you’re looking for a quick color change, trying to save money, or can’t make it to the salon, we’re here for you and your hair with this ultimate guide to highlighting at home. Let’s get right to it.
Choosing the Right Kit and Color
Don’t trust the model’s hair color on the box. The cover photo on the box may give you that “Eureka! That’s exactly the color that I want!” moment, but this doesn’t necessarily mean that this particular color kit will get you that color. You’re going to want to flip it upside down and find the color chart that most at home-kits have somewhere on the box. This chart will help you with two important things: it will indicate the 3-4 starting-point hair colors that are suitable for the formula, and tell you what those would translate to post-application.
If you’re just trying to touch-up roots, use your root color as that starting point. If you’re starting from scratch with the highlighting process, use the shade of your hair in its current state.
Most at-home highlighting kits don’t come with a strong lightening agent like bleach. This makes it difficult to remove darker pigment from hair, which is what creates a canvas for lighter colors. Try to steer clear of harsh and dehydrating ingredients like baking soda, hydrogen peroxide, and white vinegar. These strong ingredients will help create a canvas for lighter colors, but they’re pretty damaging for our hair. The negative effects that they will have on our hair may outshine the final product of the highlights— it kind of takes away the “wow” aspect of highlighting if the hair then becomes brittle and dull, right?
With this in mind, start out by only aiming for one or two shades lighter than your hair currently is. Trying to make any bigger change could leave you with orange-undertones and a brassy finish.
Will Regular Hair Dye Work for Highlights?
No, not really. Regular color kits are not able to lift, lighten, or remove your natural or other permanently dyed color, which means any “highlighting” you do won’t actually work.
Regular hair dye is also thinner than highlighting dye, which makes it more difficult to apply. This will also likely result in the dye “leaking” over to unintended sections of your hair.
Preparation
Most at home highlighting kits will come with all the tools you need: gloves, mixing solutions, application bottle, and instructions. You’ll also want to grab an old toothbrush or small hair dye brush (these can be found at most local pharmacies or drugstores). These tools will help you make small, detailed strokes of color in your hair.
It’s also time to figure out where this project is going to go down. In the bathroom near the bathtub or anywhere over a large sink is probably best. You’ll also want to grab some towels and paper towels, just in case.
Find an outfit that you don’t mind potentially getting dye on. A shirt that you won’t have to pull over your head, like a button-down or tube top, will ensure that hair dye won’t rub off when you then go to rinse it out. Starting with dry hair that is one-day post-shampoo is optimal.
Time to Paint
Do yourself a favor and be sure to read and follow the specific instructions that come with the coloring kit you chose. They all follow generally the same outline, but a little difference in the instructions may end up making a big difference in the outcome of your highlights, and that isn’t a risk you want to take.
Do a strand test first. A strand test will help you figure out what amount of time will achieve which shade of highlight. You may want to do the strand test on an underlayer of your hair, just in case it goes terribly wrong or you want to go with a different shade. Apply the highlight to the appointed strand guinea pig and wait ten minutes before wiping clean. If the strand is the shade you want for the final outcome, then go ahead and get started with the rest of your hair. If it isn’t quite light enough, re-apply and check every five minutes until you achieve your desired shade. Be sure to record how long it took so you know how long to set a timer for when you begin the full process!
Begin the process with your hair in its natural or go-to hairstyle. By highlighting hair when it’s in the style, for example the way you normally part it, you’ll ensure that the lighter strands will end up where you want them to be.
Focus on the hair that frames your face. When getting highlights done at a salon, the stylist can easily work their way around you and have a full visual of the back of your head. Unfortunately, getting a full view of the hair in the back of our head isn’t the easiest. Because it will be harder to reach these sections and do them properly, we suggest focusing on the hair that lies in front and frames your face. (This isn’t too much of a limitation as highlights at the front are perfect for adding a pop and interest to our face).
Remember to Set the Timer
Forgetting to keep an eye on the clock could get your hair into some serious trouble, especially if your kit uses harsh ingredients. Use both the time you determined from your strand test and the time instructions from the box to set a timer.
Have Realistic Expectations
Even if you discover a secret talent for being an at-home highlighting aficionado, remember that home-kits just aren’t the same as salon treatments. They likely won’t be able to get you exactly the same level of results as a professional treatment would be able to.
It’s also always best to start out with small changes and go back for round two if necessary. Undershooting highlights is a fixable problem, while overshooting them…. Not so much. Less is more, and you can always go back for touch-ups and boosts later on.
Aftercare
Now it’s time to protect your new color.
The most important thing is that your hair will need extra hydration. Even the cleanest ingredients used to alter hair color can still dehydrate your locks. Stock up on products that are full of extra nourishment and deeply hydrating ingredients. Ingredients like Plum Oil, Raspberry Oil, and Sweet Almond Oil are some of our favorite natural ingredients that hydrate, smooth, and strengthen hair.
If you’re looking to avoid fading, sulfates are the number one perpetrator for fading color. At Prose, we steer clear of any sulfates (in all of our products) and instead create formulas with ingredients like Oat Oil and Sunflower Oil that will help lock in your new highlights. Ingredients like Karanja Oil and Coconut Oil are other great natural ingredients that protect hair from the sun’s UV rays, which can lead to color fading.
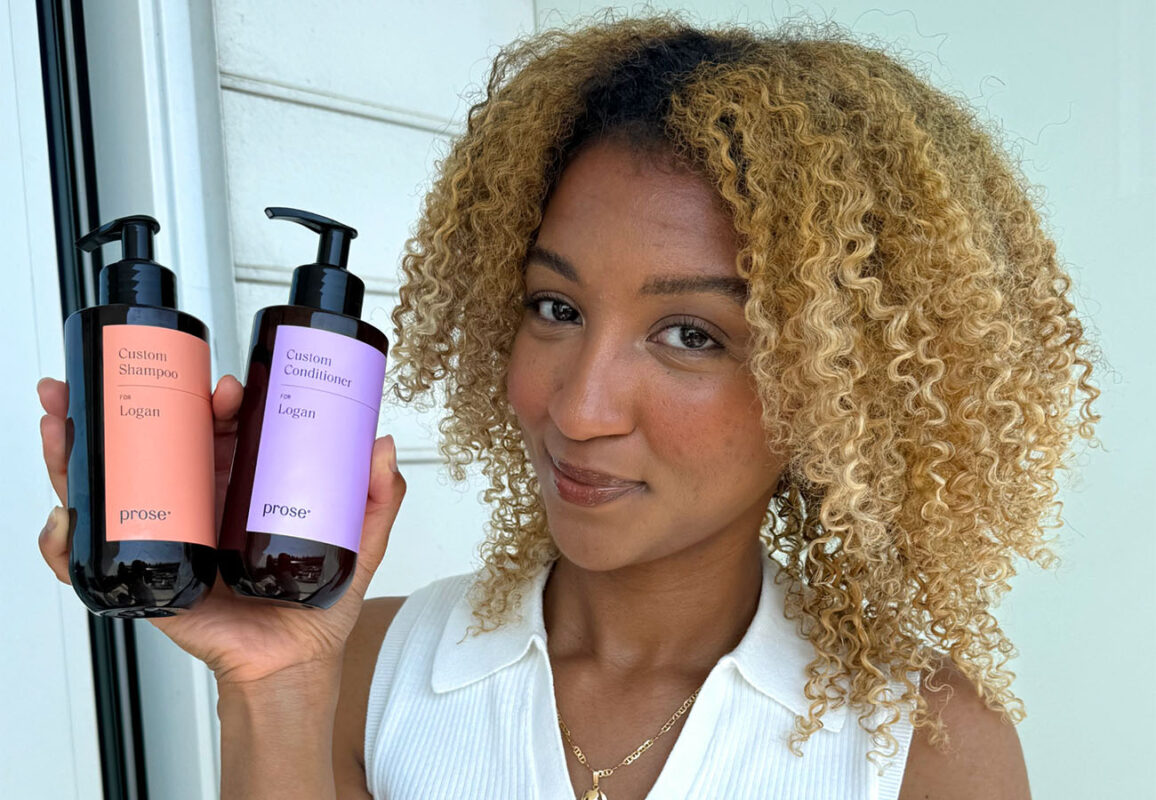
We believe that your best hair starts with custom haircare. We create products that fit you and you alone. We’ll create your very own personalized shampoo, conditioner, and any other hair care products with your specific needs and haircare goals in mind. Let us know during your consultation that you’ve recently received (done yourself) highlights and we’ll throw in all the good stuff that will keep them looking their best.