What Is the Slick Back Bun?
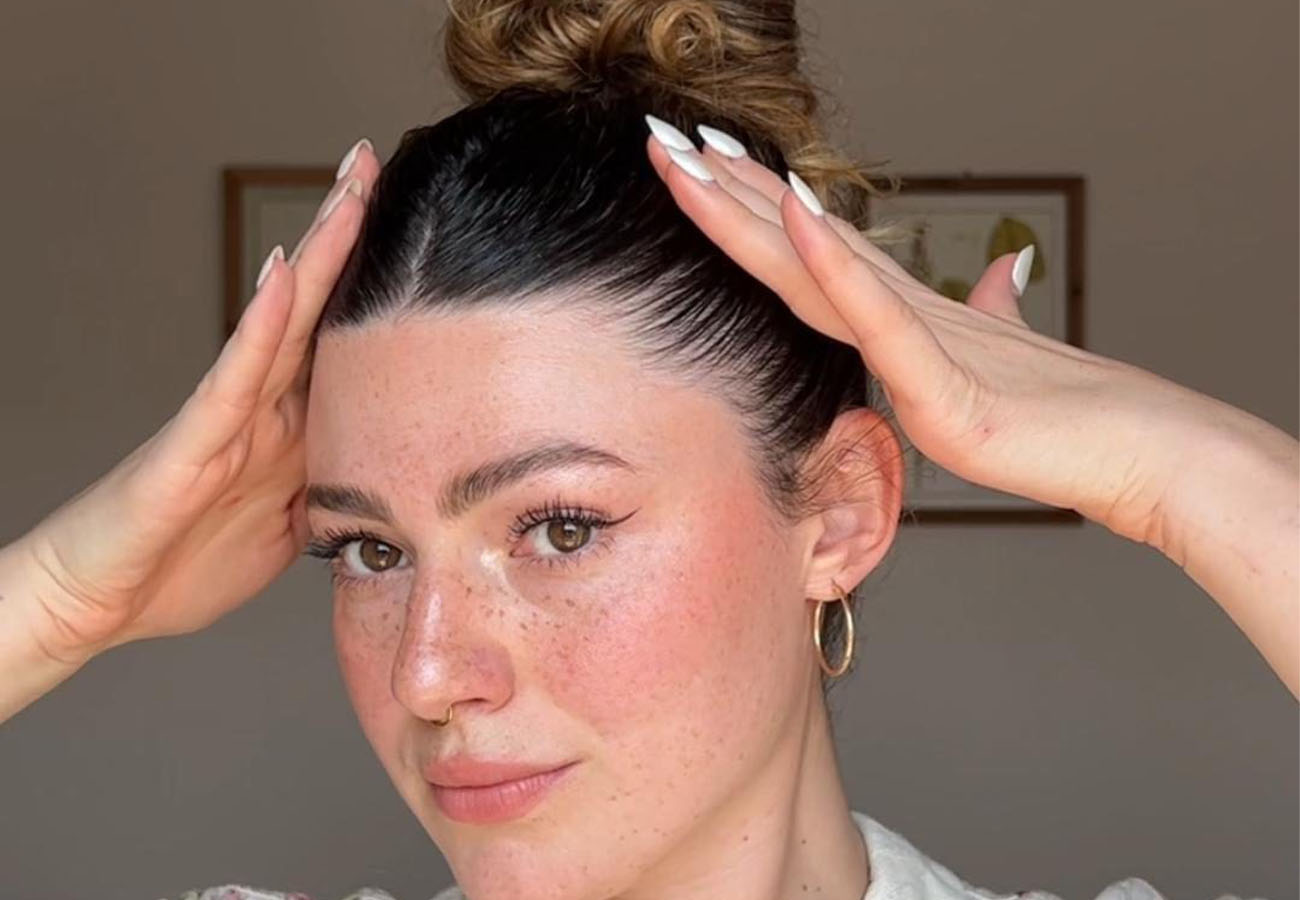
The upscale alternative to the messy buns of yore, the slick back bun features hair pulled close to the scalp and held in place using products like spray or gel to keep any flyaways at bay. This creates a look that’s pulled together without spending hours with a curling iron. It looks great running errands, at school or work, or even for more formal events, like weddings and date nights.
The style looks incredibly simple — and that’s because it is! Part of the beauty of this bun is that it’s flexible with all hair types and lengths; it’s easily achieved with straight hair, curly hair, and natural hair, both long and short.
It’s also a great option for second-day hair should you need a special style in between wash days or if you don’t want to spend hours struggling with heating products just to put together a sophisticated look. And best of all, you can look event-ready in just a few minutes.
This is what you need to know to take advantage of this popular look.
Prepare Your Hair
The first step in styling is always to prepare your hair. For this look, you’ll want dry hair in its natural state. Clean hair works well, but so does hair in between washes.
Ideally, your hair will be largely product-free to avoid any buildup. If you want to keep ends looking their best or if you’re prone to flyaways, you may want to spend a little time with a straightener first for the slickest look, but this is absolutely not necessary.
Add Product
Something with a light hold works best, like a styling foam or mousse. This can help your hair hold its shape and keep loose hairs from working against you. The key to this style is very slick hair, so making sure your hair is prepared to stay in shape is ideal.
Pick a Part
Some buns eschew parts entirely, but this look depends on one. Whether you choose a center part or a side part will depend on your face shape and your personal preferences, but regardless of which you prefer, you need to commit.
Use your preferred comb to guide your part, and make sure it’s as straight as possible. A messy part can compromise the chicness of this style, so take the time to achieve the right split.
Add a Little Oil
Hair oil is a perfect fit for this look because it helps bring out your hair’s natural shine — a key component of the slick back bun. Once you have your part secured, add a few drops of oil, rub it into your hair, and brush it through.
Create a Pony
It’s time to pull the look together. Carefully brush your hair back into a ponytail, making sure hair stays as close to the scalp as possible. This might take a little brushing and holding to perfect, so stay patient and add more product to slick things back if needed.
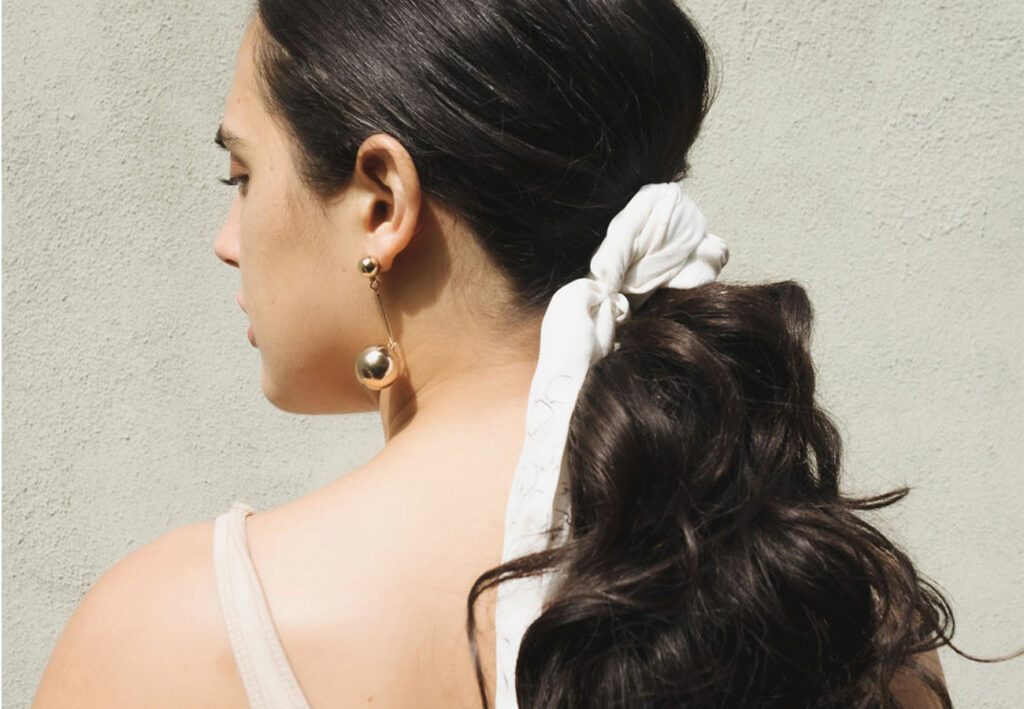
Once your hair is pulled as tight as you can, secure it with an elastic. No-slip hair ties are best for this, ensuring your style stays in place.
Slick It Back
With your hair now successfully pulled back, it’s time to perfect it. Using a styling gel, slick your hair back and target any areas that aren’t lying flat. Use as much styling gel as needed to keep your hair in check.
Complete the Bun
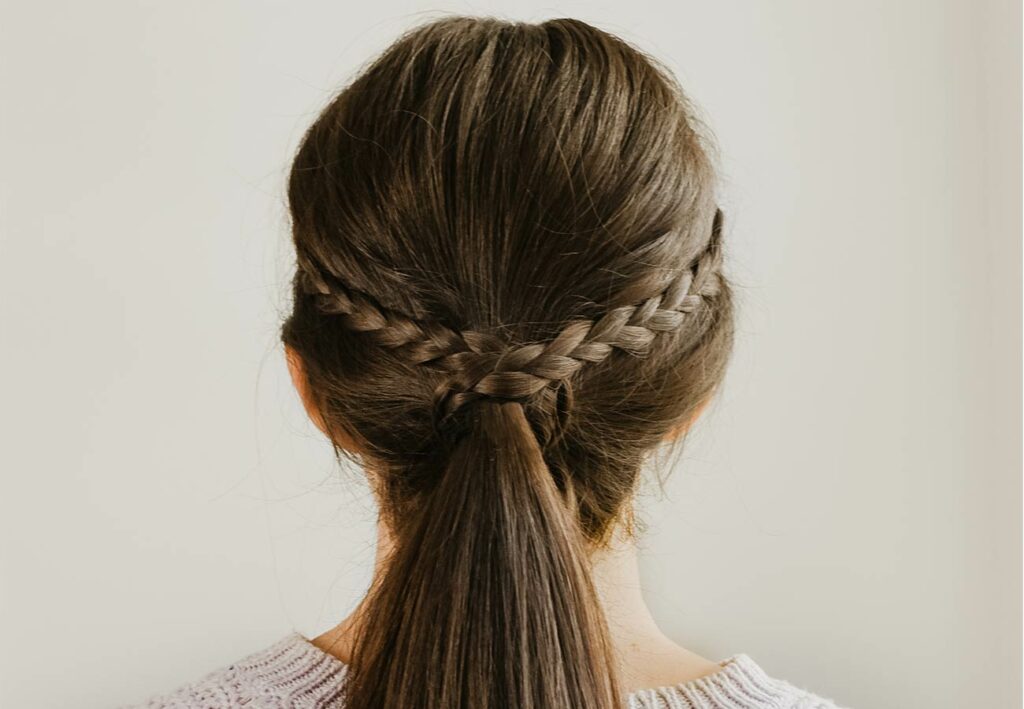
Now that your ponytail is perfect, you can move on to the final step of the process: creating a bun. You can do this in a few ways. Wind your hair around the base of the ponytail and pull tight, braid the ponytail and then wrap it, or keep things casual with a loose or messy bun.
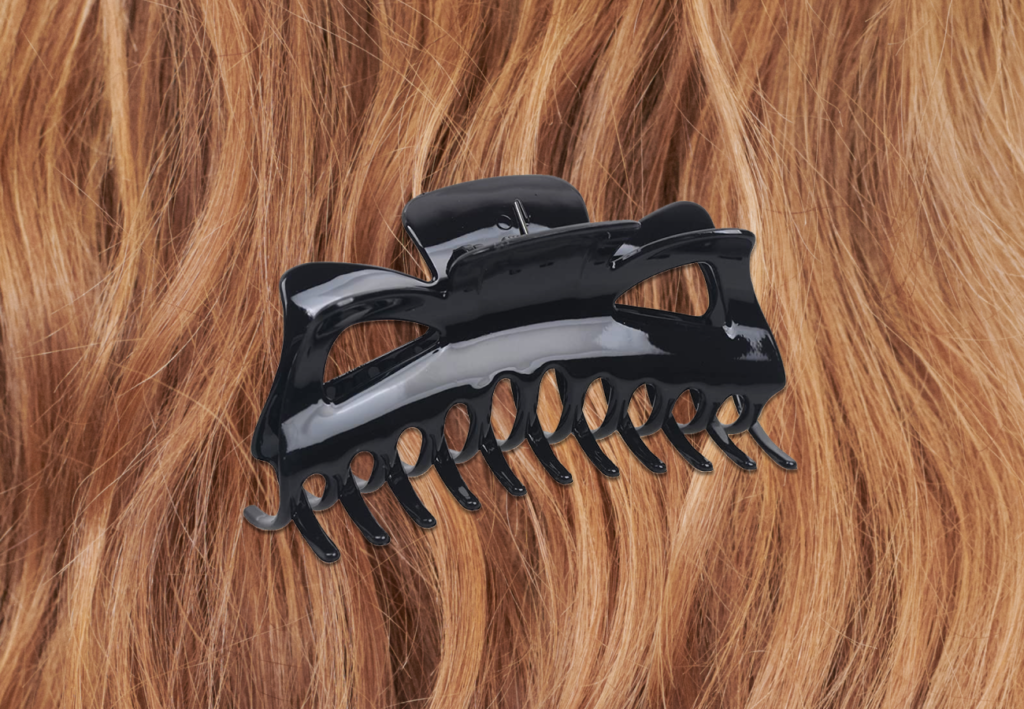
No matter your choice, secure it with bobby pins or an additional hair tie to keep things in place. If you’re in the mood for maximum hold, you can lock your look in place with your favorite hairspray.
And you’re done! Your style is complete, and you’re ready to take on the day.
If you want care designed to flatter your hair, Prose is here. Take the Prose consultation, and get a customized formula designed to target your priorities and help your hair look its best.

