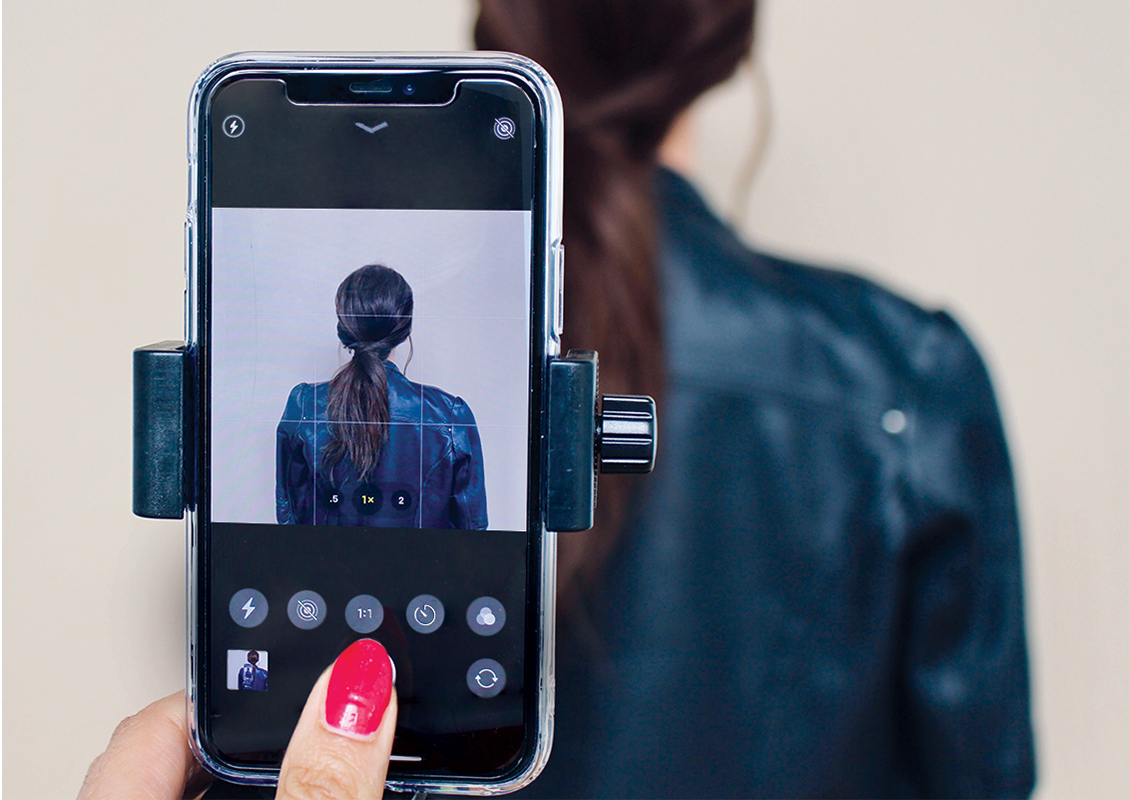
Tip #1: Use natural lightTake your photos near a window for richer, clearer photos using your smartphone or camera. Certain times of the day are better than others—like golden hour when shooting outside or early morning when shooting indoors. High noon isn’t ideal for outside shots since the sun is directly overhead and can cause unwanted shadows or too much contrast on the subject. Grey or rainy days are a natural sun filter, use its cool light to your advantage by shooting close to a window if you’re indoors!If shooting near a window:Avoid shooting when your subject is between you and a window. Instead, stand between your subject and the window to capture light in the same direction as you take your photographs.If shooting to the left or right of a window: Understand that light will be brighter on one side of the photo. You can choose a focal point on your subject and simply turn it to face the natural light source so that they’re being hit softly, giving your lighting a spotlight effect.Pro tip: Avoid using flash in lieu of natural light!
Tip #2: Frame your subject
Be sure to leave some space around your subject and not crop in too closely. Leaving space around the focal point of your photo can add more visual interest than zooming in. The rule here is that the size of your subject should be balanced within the image.
Tip #3: Utilize your phone’s built-in editing software
Exposure: to adjust the overall brightness of your photoHighlights/Shadow: to lighten/darken areas of your photo and reveal detailContrast: to lighten or darken pixels to make an image more vivid or mute tonesBrightness: another option for adjusting your photo’s lighting Saturation: to alter the intensity of your photo’s colorsSharpness: to adjust overall clarity of your photoPro Tip:Tap your phone to calibrate your focal point, then shoot. Also be sure to use the gridlines feature on your camera settings to help balance your photos.
Tip #4: Create depth
Use selective focus when taking your photos. An example of this is portrait mode, where your phone automatically focuses on the subject while blurring out any surroundings. You can also convey depth through color, particularly when taking a photo where you want to highlight your subject’s hair color. The challenge and goal here is to make a 2D image appear 3D.
Tip #5: Follow the rule of thirds
The rule of thirds explains that if you take a photo and divide it into three equally sized horizontal sections and three equally sized vertical sections, it will create a “roadmap” that can help inform where to place your subject. Not only will this help keep your photos balanced and centered, but it can improve the composition of your images, too.
Tip #6: Try different vantage points
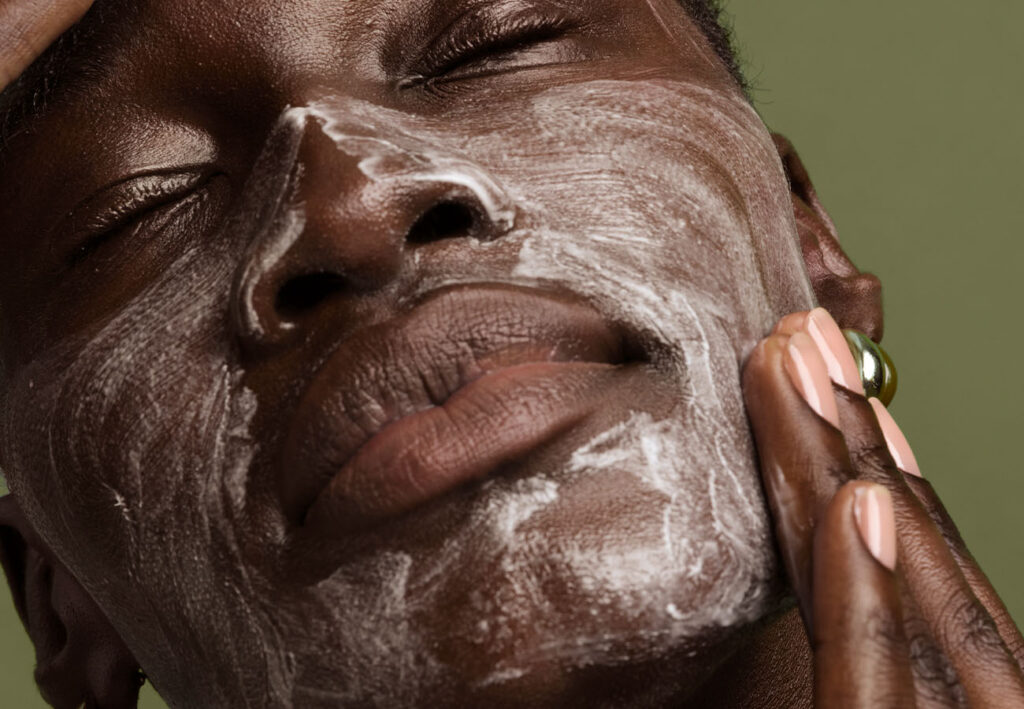
Depending on the type of photo you’re capturing, have fun with a variety of angles to capture your favorite shot. Some photos look best taken far away, whereas others are far more interesting up close—especially when trying to show texture and color depth. Pro tip: Resist the natural tendency to take photos only from eye level!
Tip #7: Stay creative
Have fun! Learning how to take good pictures takes time and practice, so allow yourself to play around using some of these tips to stay creative and develop your unique eye.
Interested in creating content for Prose?
Submit content for consideration here
See all our current campaigns here
Learn more about our open call here


