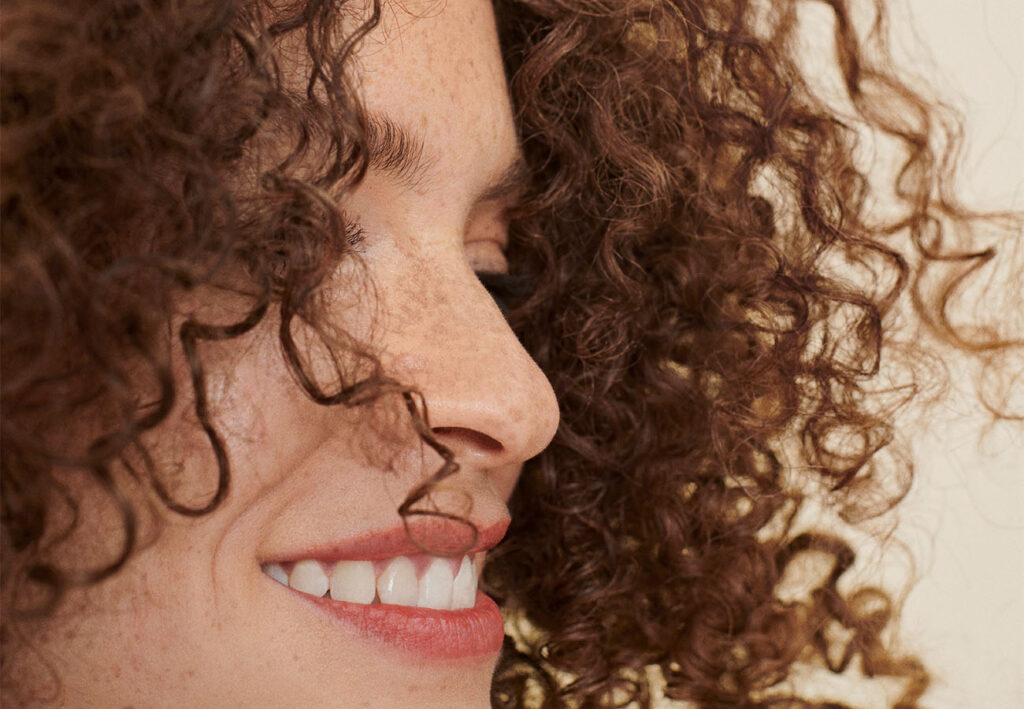
The Basics
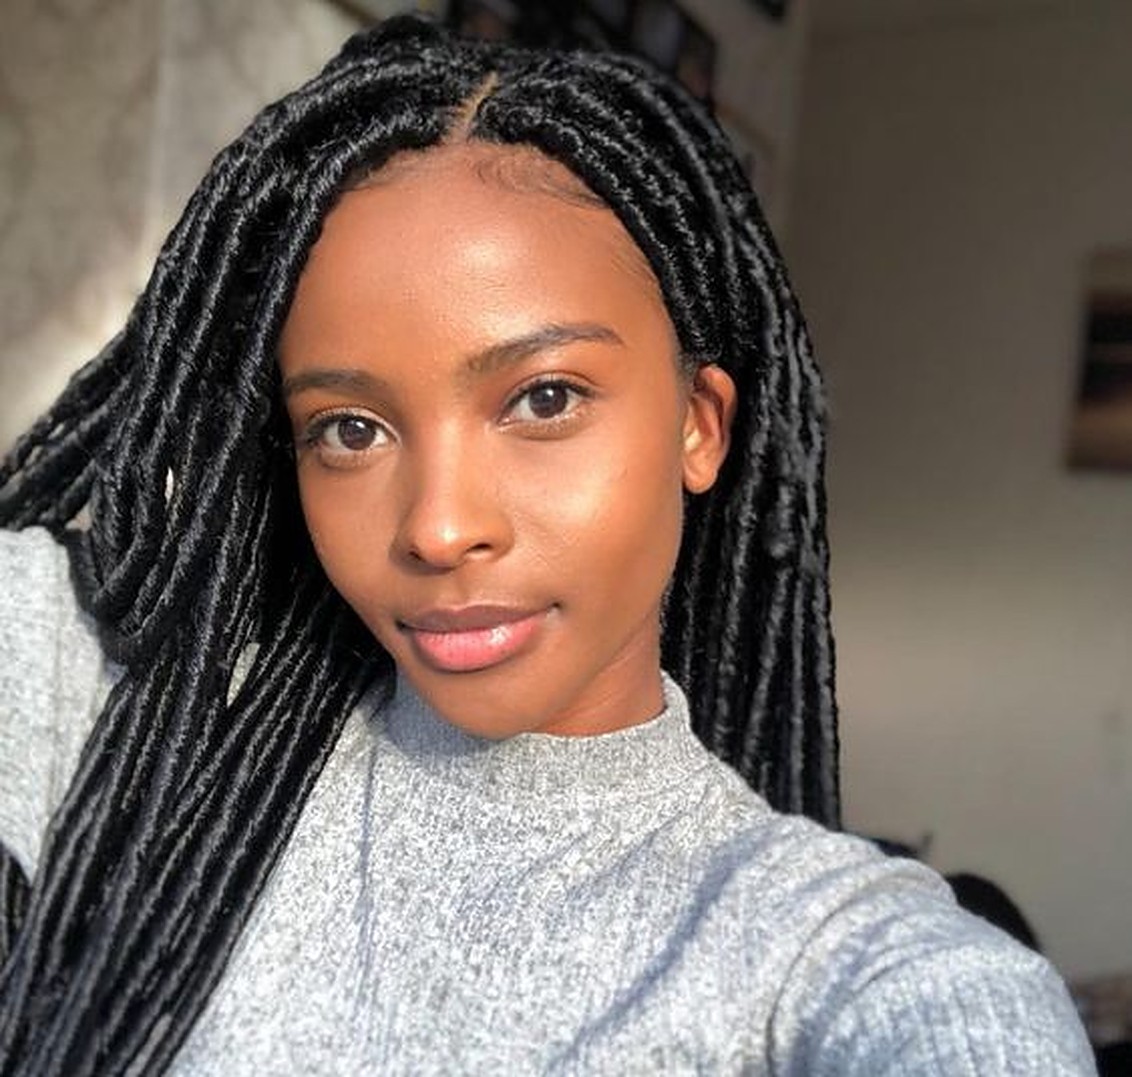
Crocheting your hair is exactly what it sounds like: you crochet synthetic hair into your own. The number of hair extensions that you’ll need for this look can depend on the amount of hair you already have and the look that you are going for. Usually, you’ll need about four to eight packs of hair.
You can get crochet braids done in a salon, or you can do them yourself. If you want them to look more professional, then we recommend going to a stylist.
It is also essential to care for your braids at night so that they last as long as possible. The braids themselves don’t damage your hair, but you should make sure your hair is healthy before putting the braids in.
If you are going to do the braids yourself, you should make sure you moisturize your hair plenty beforehand, and you use a deep conditioner. If you’re a visual learner, you might want to look into informational videos about crocheting hair.
However, if you like to read about how to do different hairstyles, then you’re in the right place!
Benefits Of Crocheting Hair
One of the best things about crocheting hair is that it allows less stress to be put on your hair shaft and the edges of your hair. You can also easily refresh this look without having to redo it completely.
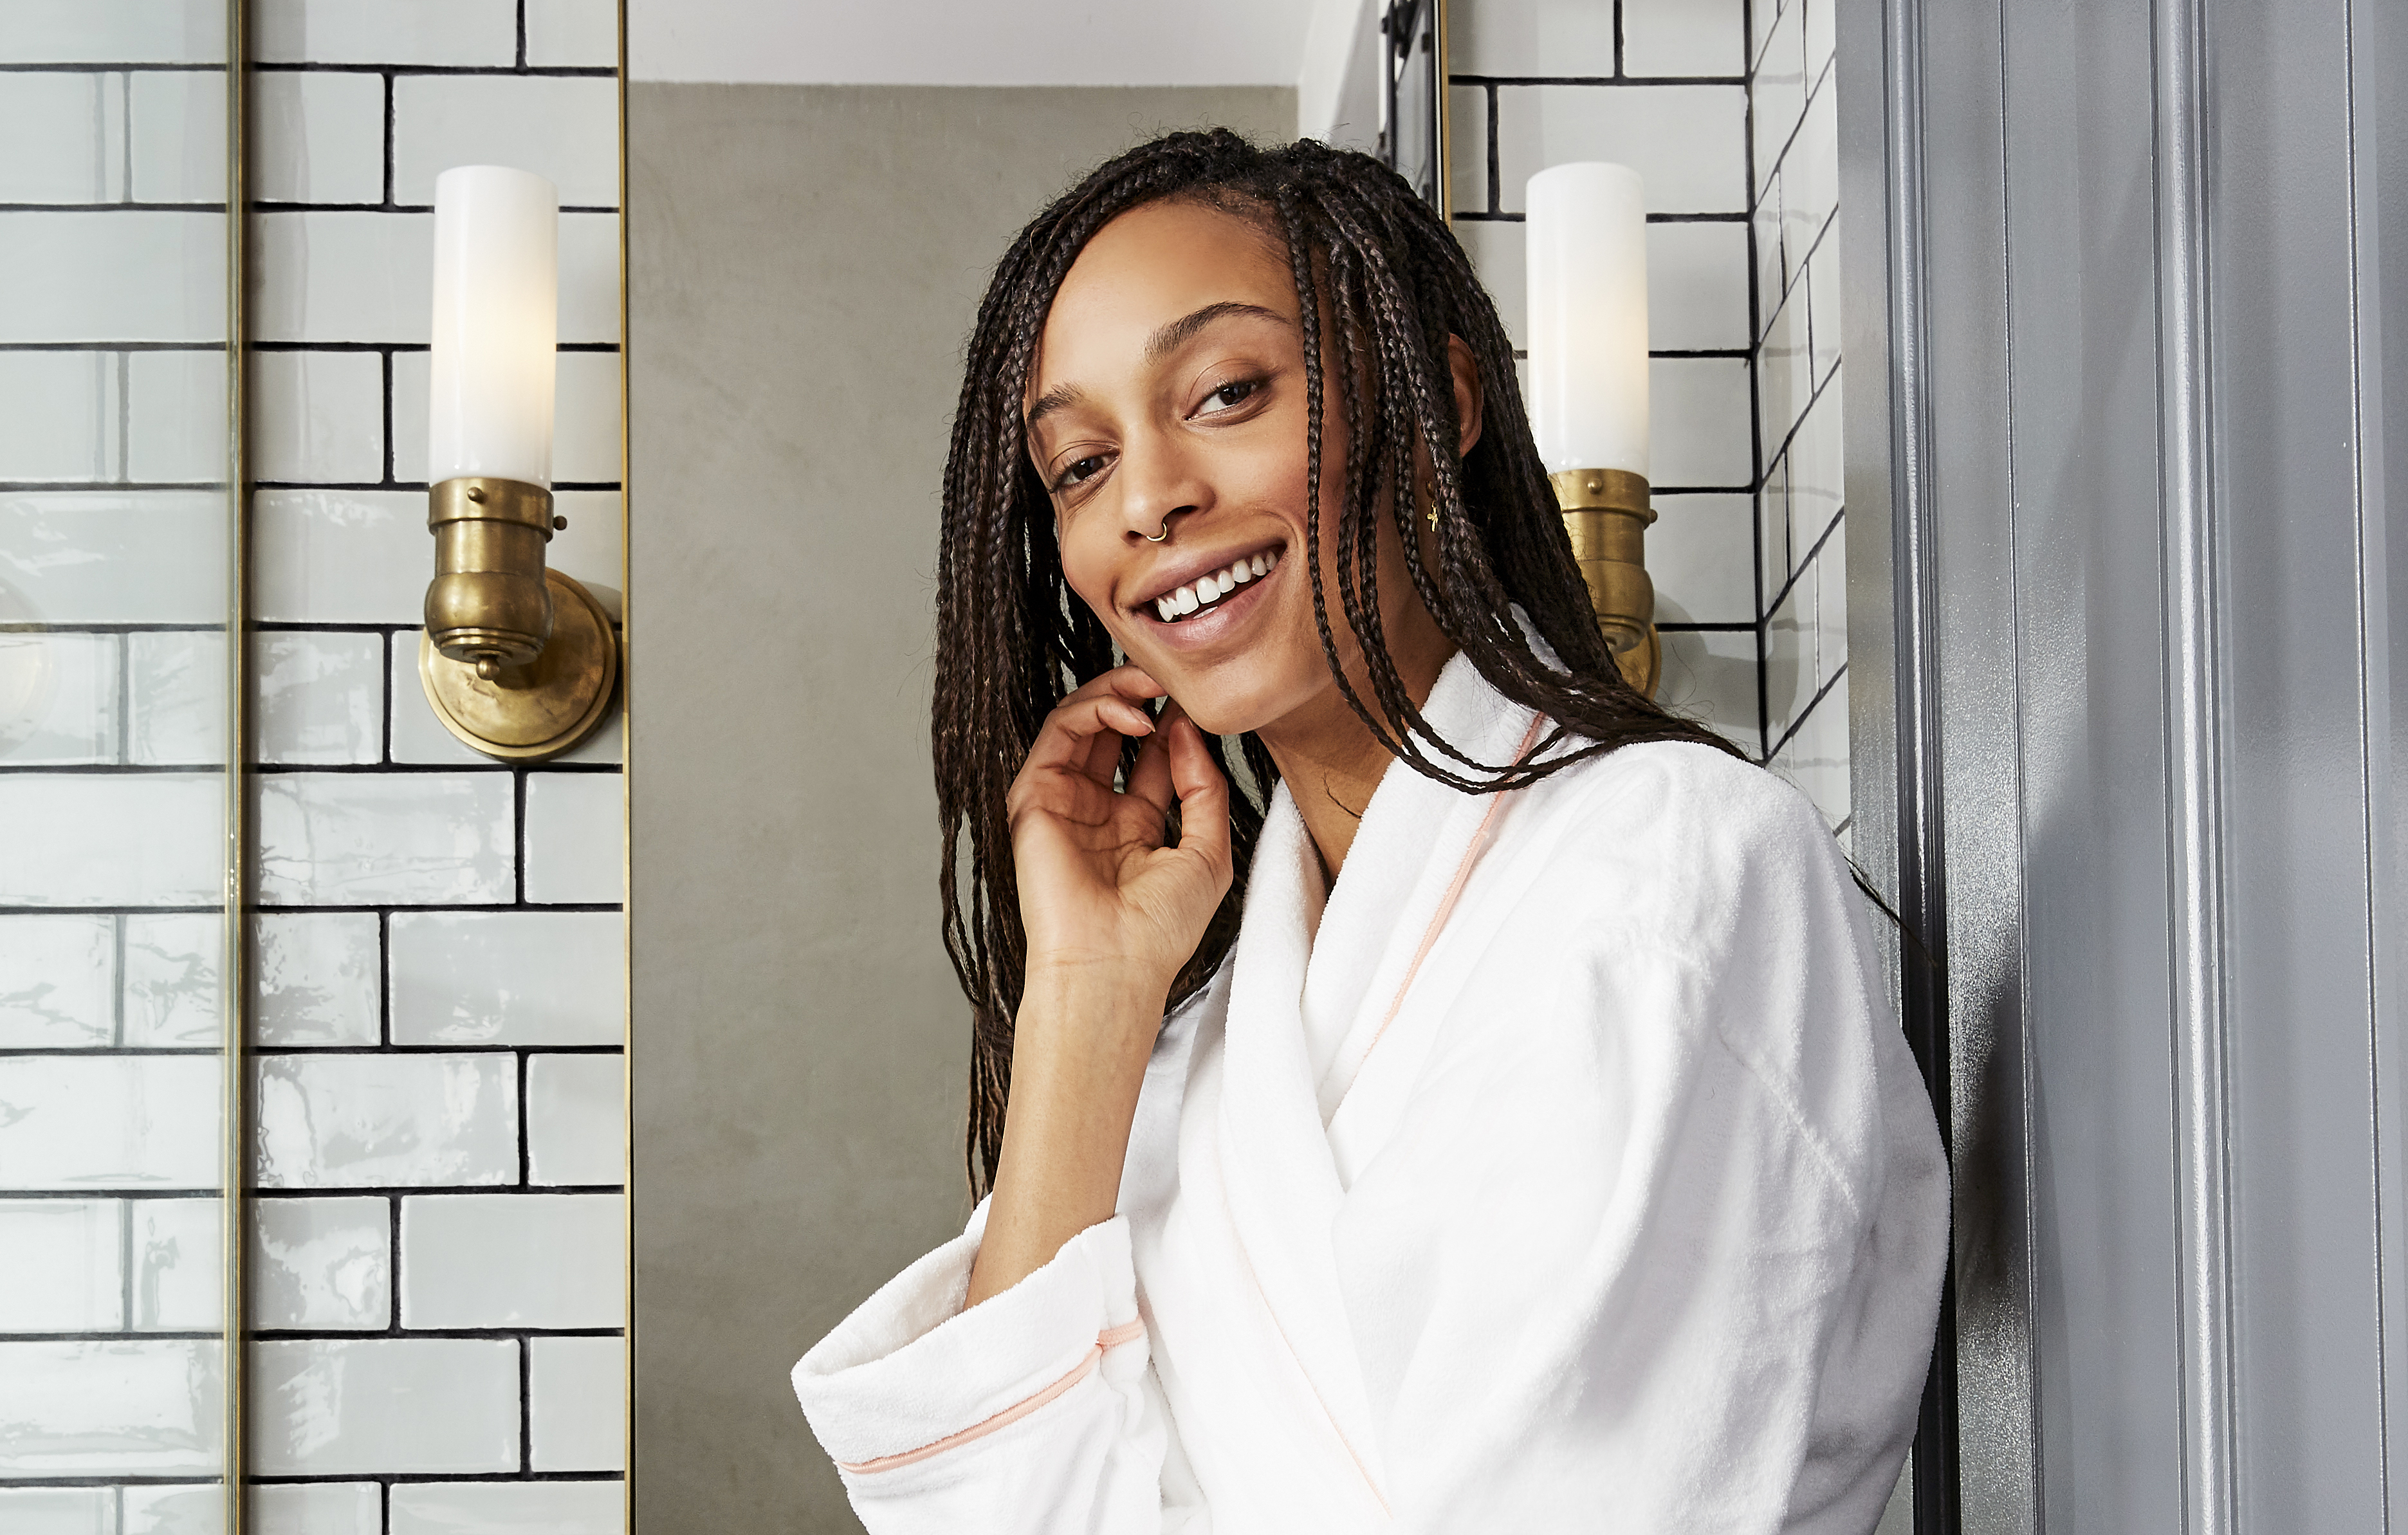
Crocheting hair is a great long term protective style that looks good on anyone. This hairstyle allows your scalp to breathe and be moisturized because it is exposed.
Crocheting hair doesn’t take much time, so it can cut down the amount of time you spend caring for your hair in your morning routine by a lot. As for the actual application process, depending on how many braids you want to crochet, it should take about 90 minutes.
There are so many colors and sizes of hair extensions to choose from, so you have a world of opportunity when it comes to crocheting your hair.
You could also reuse the braids after you take them out, saving you money and the hassle of buying more. All you have to do is wash and trim them.
While we recommend going to a salon, with some time and practice, you can learn how to do it yourself. Even if you don’t go that route, it’s nice to know exactly what is being done to your hair when you get it crocheted.
Tools You’ll Need
Before starting this process, there are a few things you’ll want to have on hand.
Here is a short list:
- Thread
- Latch hook
- Scissors
- Hair oil
- Shampoo
- Conditioner
- Towel
- Hair extension needle
- Hair extensions of your choosing
After you’ve gathered up and bought all the materials you need, you’re ready to start crocheting!
Step 1
You should start this process with clean hair, so you should shampoo and condition as you normally would beforehand. You can wait for your hair to dry naturally or blow dry it. Next, apply some hair oil to your scalp to keep it moisturized.
Step 2
The next thing you’ll want to do is comb your hair into one-inch sections. Braid your sections into cornrows starting at the front. Cornrows are the easiest way to start the crocheting process and are considered the normal “base.”
Step 3
Take your curved needle and use a thread color that matches your hair color, so it blends in. You’ll want to tie a knot at the end to create a loop. After you’ve done that, take any loose ends of your natural hair towards the back of your head and sew them down, pressing the end of a braid up against the back of your head, and finally insert the point of the needle through the base of the braid where it touches your scalp.
The next step is to bring the needle through the other side of the braid and above the knot you made to secure the end of the braid. Finally, pull it taut. Put the needle underneath the braid and wrap it around the cornrow portion. Repeat this step until you are satisfied with the results.
Step 4
When the braid has been secured with the thread and needle, insert the needle one more time in between the threads before pulling it tight. Cut the thread when you are done with this step.
Step 5
Take the hook and put it through one of the braids you created and also through the extension. Take the hook and put it under the braid, and put the extension on the end of the braid and onto the hook. Then, close the hook on the latch.
Pull the hook under the cornrow again, and make sure you go slowly to avoid damage. The hair should go through by about 3 inches. Open the loop and pull the ends through it with your fingers. Open the latch and release the hair that was in it. Take the end of the extension and pull the ends through the loop you created.
Step 6
Make sure you pull the end of the hair through the loop and ensure that it is tight. When you crochet the hair, it will start to form a stitch around the cornrows that you made.
Keep repeating this process around your entire head, for each section of hair and each cornrow. Do this with each layer of your head going upwards until you reach your scalp.
Tips for Crocheting
If your extensions are too long for your liking after you’ve put them in, you can always cut them to the desired length. Only cut about an inch at a time until you are satisfied.
Pay attention to the thickness of the braids. If your braids are too thick, they can cause damage to your scalp by increasing tension on your hair follicles. Make sure you take care of your scalp and your new hair that grows in. Keep the scalp as clean as possible without damaging the braids.
You can utilize leave-in conditioner for your cornrows to help keep them from looking too dry.
Make sure you sleep with a silk or satin bonnet to preserve your hair as long as possible.
When you are ready to remove your braids, you should do so gently and with a lot of conditioner. After removing the braids, follow with a protein-rich treatment and then allow hair to rest for at least a week before trying a new style.
As mentioned before, do not leave your braids in for longer than six weeks because this could pose some potential threats to your hair’s health, such as breakage.
In Summary
Crocheting hair might take some practice, but it is definitely worth it to learn. It’s a fun way to combine your natural hair and a little something extra. Crocheting your hair can add the length you’ve always wanted for your hair and give you an extra touch of glam. And as the added cherry on top, this style will help to protect your natural hair, so you keep your hair healthy while you’re locking your locks.