
So, for that reason, we’ve summoned the expertise of colorist Rebekah Norris of Cutler Salon in NYC, who could balayage herself blindfolded if she had to.
First step: Don’t be blindfolded.
Second step: Follow her advice exactly, so you don’t end up with something more like a highlight. You only want to lift a few shades lighter than your natural color with a balayage hair treatment, with a blended-in “grow out line”, which means you won’t need to touch it up as much or visit the salon for cleanups.
Here are Norris’ tips on how to balayage hair (which means “to sweep” like with a paint brush) to perfection.
Third step: Don’t use an actual paintbrush.
What Is Balayage Hair? And What to Expect Based on Hair Type and Color
So what is balayage hair, exactly? Balayage is a freehand hair coloring technique where color or lightener is painted directly onto the hair in sweeping motions, creating a natural, sun-kissed gradient effect. Unlike traditional highlights, balayage hair color is applied without foils, resulting in a softer, more blended finish with no harsh regrowth lines.
Norris says that all hair can be painted, but different textures can expect different results. “For example, if you have a lot of very curly hair, you’ll want to grab thicker pieces, creating a V-shape effect. And if you have fine, slightly wavy or straight hair, you’ll want to pick up thinner pieces, making a U shape with the balayage.”
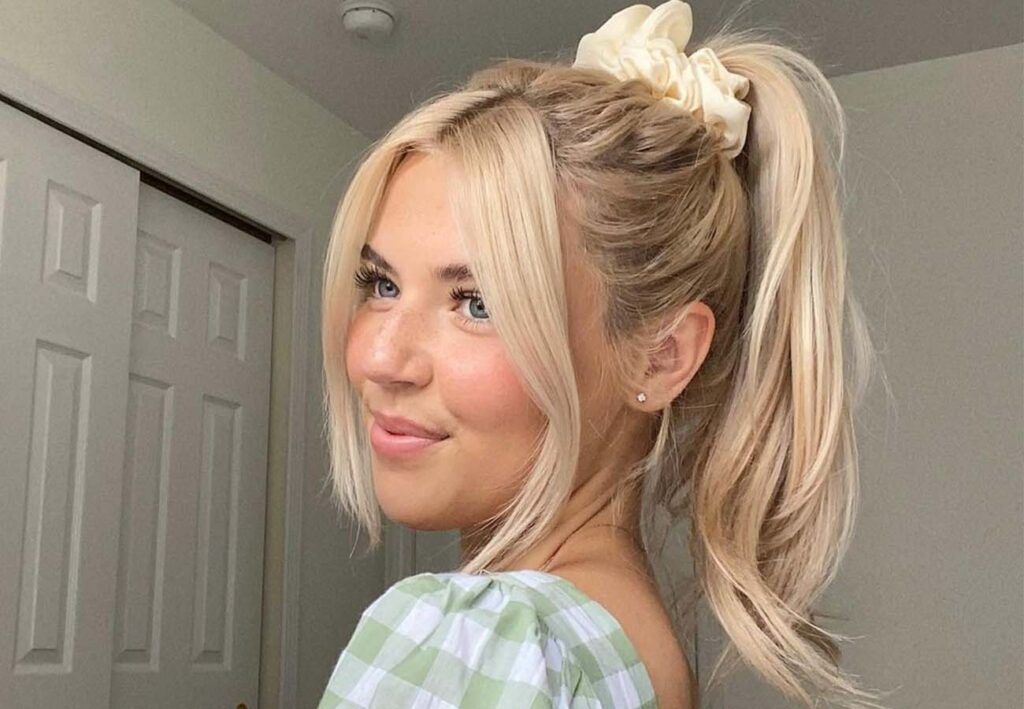
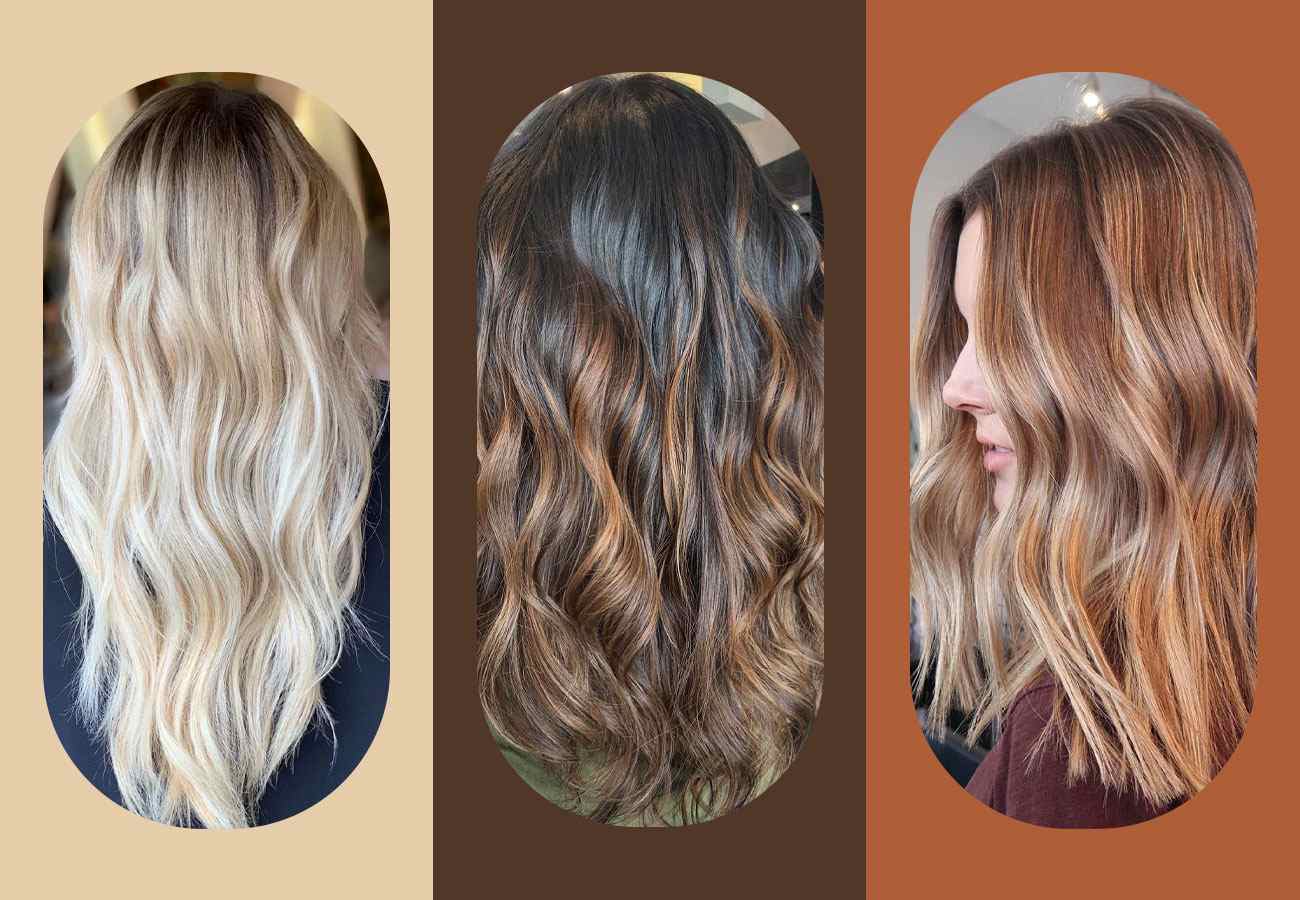
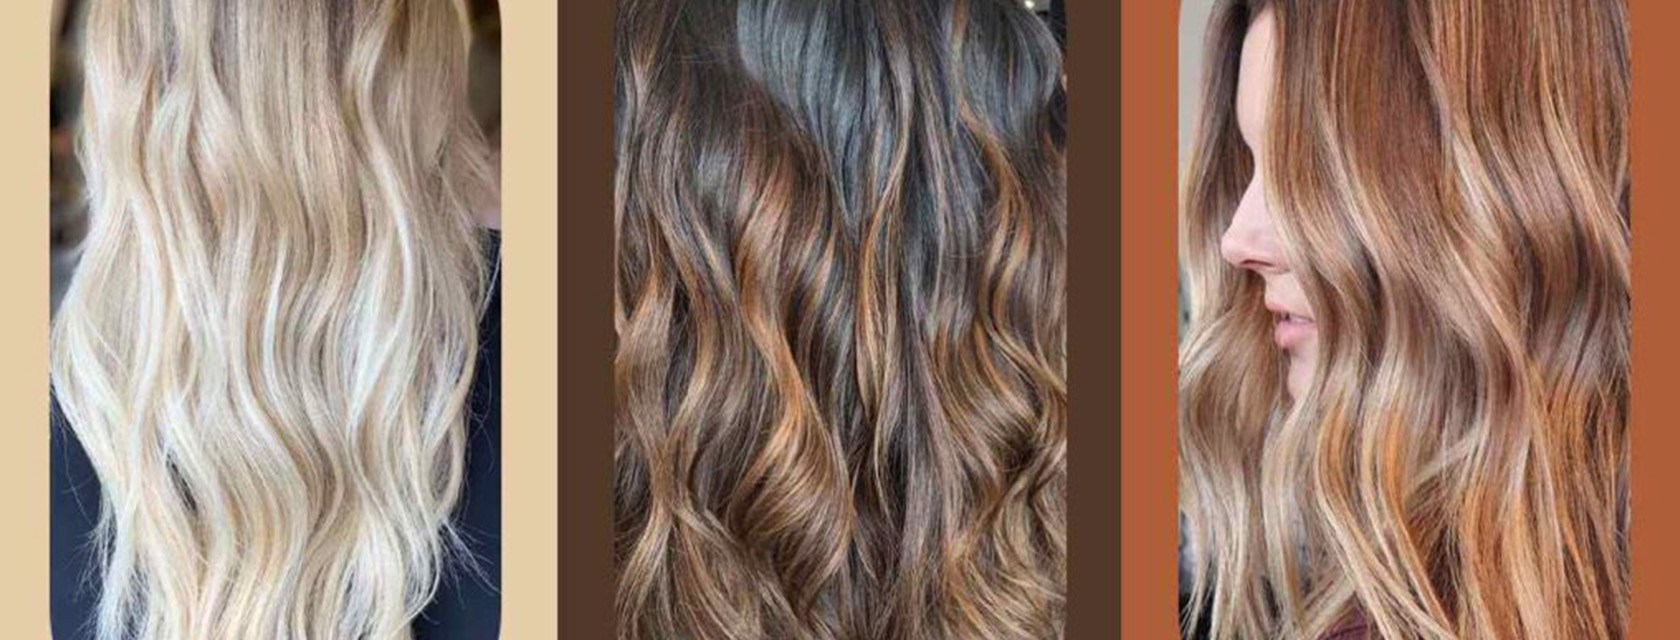
As for your hair’s starting color, it is what will dictate the end result—making this a balayage hair color and not a highlight. “If you have a medium to dark hair color (think hazelnut to vanilla bean pod), your hair will lift to a soft caramel or toffee hue,” she says. “And if you have medium to light hair color (think pecan to champagne or mousy blonde), then your hair painting will lift to a strawberry blonde or the inside of a coconut hue.”
How Long Does Balayage Hair Last?
One of the most appealing things about balayage hair is its longevity. Because the technique blends seamlessly into your natural color with no defined root line, balayage hair color can last anywhere from three to six months before needing a touch-up, significantly longer than traditional highlights. How long balayage hair lasts depends on your hair’s starting color, how many shades you lift, and how well you maintain it with the right products. With proper care (more on that below), you can extend the life of your color between salon visits considerably.
Supplies needed for a DIY balayage
These are the things you’ll need for the at-home balayage. You should be able to get them all from your nearest beauty supplier.
- Three large hair clips
- A comb for sectioning
- A pair of gloves
- A towel (one that can get bleach on it)
- A color-safe mixing bowl and balayage brush
- Balayage Clay Lightener (“This is specifically formulated so that it can lift your hair color in open air, meaning not in a highlighting foil,” says Norris, whose preferred pick is Wella Color Charm Painting Balayage System.)
- 20 or 30 Volume Cream Developer (“The developer you choose will be based on how light or dark your natural hair color is. For example, if you were a baby with light hair then you should choose the 20 Volume. If you were a baby with dark hair then you should choose the 30 Volume.” Again, her go-to is Wella.)
How to balayage hair
“Doing a full head of balayage is very difficult, as it’s important to keep tension on the sections you pick up,” says Norris. If you don’t have a friend who can paint the back of your hair, then just focus on the front area for your at-home touch up.
Norris typically administers the face frame touch-up, which is called “halo effect”. This is the most approachable way to learn how to balayage hair at home, and it delivers a beautifully sun-kissed, face-framing result. Here are her steps for that.
1. Brush your hair out
You don’t want any tangles. This way the clay lightener can easily deposit onto the hair—achieving one consistent lift. “If you have very curly hair then use a wide tooth comb if preferred,” said Norris.
2. Clip your hair up
With your comb, draw a straight, vertical line down the center of your part all the way to the back of your neck. Then, starting at the top of your left ear, draw a straight, horizontal line to the top of your right ear. You should have four quadrants. With your 1st clip, combine the back two quadrants into one big section. Leave the back alone, as it will look like an intentional ombré. Now you should have the front left clipped and separated, as well as the front right clipped and separated from each other.
3. Mix your lightener
Next, scoop out some clay lightener into your mixing bowl. If you have a food scale use it to precisely measure your lightenera then add your cream lightener of choice. (Follow the company’s measuring ratios.) Mix the two together with your painting brush until you get a spackle-like consistency.
4. Put on gloves
You need to be sure that your hands are protected from the lightener.
5. Section your hair
With your sectioning comb, make a diagonal slice just above your ear. This slice should look like a backward slash ‘\’ on your keyboard. And within that section, make a ‘U’ shape. Tightly coiled hair will need to be pulled taught in order to ensure an even coating of the clay lightener. Due to the curl pattern, a smaller “U” section will be necessary. Regardless, this will be the carved out section you actually balayage. (Be sure to always include your hairline in this U section so that you benefit from face-framing brightness.)
6. Avoid a harsh line
Slightly tease or backcomb the U section to diffuse any harsh lines. This step is key to achieving that soft, natural-looking balayage hair color effect that sets the technique apart from traditional foil highlights.
7. Paint your hair
Take your painting bleach and painting brush and apply a small amount to the section of your hair in your hand, starting further down the hair shaft. Make sure to not get the painting bleach on your teased section or on your roots.
8. Blend the lightener by hand
With your middle and index fingers blend the line of contact where the painting bleach first touches your hair strands. And with your painting brush, coat the rest of the section in your other hand all the way down to the ends. Slide your fingers all the way through to get an even, smooth coat.
“The next section you take on top of the balayage section you just did will be your “leave-out” section,” Norris says. Hair density plays a role in your sectioning. If you have fine hair, each section should be about 1/2” apart from each other. If you have coarse texture, each section should be about 1” apart from each other. The section you take on top of that will be your next painting section.
9. Repeat application process
Apply your lightener just as you did on the first section. Repeat this until you get to the top of your hair where your hair is parted and then set a timer for 20-30 minutes. Hair texture plays a role in how long you let the balayage sit. Thick/coarse texture will require longer so that the bleach has enough time to travel to the inner vortex and lift the hair.
10. Mirror the other side
While the one side of your hair is processing, repeat the same steps on the other side of your front hair section.
11. Rinse out the lightener
Rinse out the first section when hair is ready but wait to shampoo your entire head until the other section’s timer has gone off. This final step directly impacts how long your balayage hair color stays vibrant, so don’t skip it.
12. Wash your hair
When your hair has completely finished processing, hop in the shower and wash everything out. Using a violet toner shampoo and conditioner will help cancel out any unwanted warmth.
How to maintain your balayage
Proper aftercare is the most important factor in how long balayage hair lasts and it starts with the right products. As with any lightening or bleaching process, you’ll want to treat your hair with a violet or blue toning shampoo and conditioner once a week (and no more), Norris says. Otherwise you’ll start to pick up their colors in your hair, too. Their job is to prevent dyed hair from turning brassy, so you don’t want to over-treat and turn it purplish instead.
The color of shampoo and conditioner you choose depends on your natural hair color. If you have dirty blonde to light hair then you should get a violet shampoo and conditioner. If your hair is a light brown to dark brown you should get a blue shampoo and conditioner. Be sure not to use these toning products too frequently or you will overly deposit your hair color. Once a week at most. Also be sure to stick with a paraben- and sulfate-free shampoo and conditioner for all the in between washings and conditionings.
And of course, should something go awry or unplanned, book an appointment with a colorist/cosmetologist at your local salon. “We’re professionals who are skilled at knowing how to correct any ‘oops’ moments,” Norris says. So don’t sweat any mistakes.