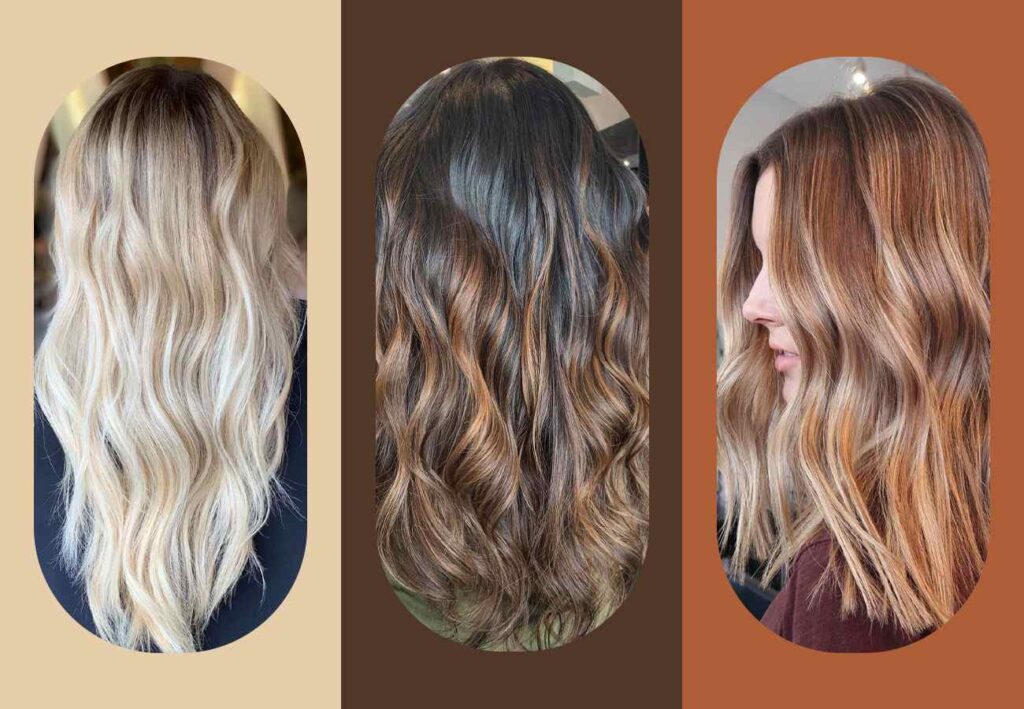

First, consider your hair texture, length, and color
Your hair’s texture plays a major role in how you approach bleaching. You might already know which category you fall into (between fine, medium, and coarse), but if not, Norris offers this guidepost: ”Think of a strip of sewing string. If your individual hair strands are thinner than string then your hair is fine textured. If it’s equal to the thickness of the string then you have medium texture, and if it’s thicker then you have coarse hair.”
Next, you need to consider your hair’s color—it’s natural color, that is, rather than its current (possibly dyed) color. In this instance, you only need to rate it as light, medium, or dark, says Norris. “Were you very light blonde as a baby? If yes, then you probably have light hair. Were you a light brunette as a baby? You’re probably within the medium category, and so on.” She also has good news for the light-headed folk. “If you have light hair naturally, it’s going to be an easier process than if you have dark hair naturally.”
Third is the length. This is only important in terms of getting an even-toned bleaching, and the shorter your hair is, the better odds you fare. “If your hair is past your shoulders, the ends of your hair may not ‘lift’ as light as desired,” Norris says. “That’s because it takes a long time for heat to travel down to your ends.” This one might be a deterrent for long-haired people approaching a DIY job, but more than anything, it’s an important consideration to take.
With your hair’s length, natural color, and texture in mind, you can move on to the next steps.
Find an assistant
You’ll want an extra set of hands and eyeballs on the day. Pick someone you can trust, and who has perhaps been through this process (literally, it’s called “processing”) before. “They can reach certain areas in the back of your head that you can’t see, and they’re able to see from a bird’s eye view if everything is lifting evenly,” Norris says.
Do the prep work
Here are all of the necessary supplies for a DIY hair bleaching, according to Norris.
Bleach
No, not Clorox. This is the lightener itself, but is not a standalone product for this process. Norris recommends Wella Blondor Multi Blonde Powder.
Developer
This allows for the cuticle of your hair to open up and “absorb/take” the color. It’s what contains hydrogen peroxide. This is where your hair’s natural texture and color play a factor, since the developer has a scale that factors in these variables. Here is Norris’ cheat sheet to simplify things: If you have light-medium hair color and it’s fine-medium textured, then you’ll need a 20 Volume and a 30 Volume. If you have medium-dark hair and it’s medium-coarse textured, then you’ll need a 30 Volume and a 40 Volume. The reason for the changes in developer is because a stronger developer is needed on thicker/darker hair so that the lightener can penetrate the hair’s cuticle and lift the color. As for brands, she prefers either Wella or its own Wella Color Charm brand.
An old t-shirt
Something you can compromise during the process, and remove when it’s time to rinse. (And likely toss out afterwards, or save for future touch-ups.)
Hair clips for sectioning
4 large clips.
The tools
Norris suggests two color-safe mixing bowls, two color application brushes, and one comb.
Plastic bag
You’ll wrap this around your head, Norris says, to trap in heat so that the lightener keeps lifting.
Shampoo & conditioner
Pick something sulfate and paraben free.
Start with clean hair
You can’t do this process with dirty, greasy, or product-filled hair. “Be sure there’s no hairspray residue or excessive oil build-up, as this will slow down the lifting process,” Norris adds.
How to bleach your hair
Here, Norris walks through the true step-by-step process, now that you’ve got all your supplies at the ready:
1. Part your hair into 4 sections: Do this with a comb. Make a vertical line down the center of your head between your eyebrows, and drag that line to the back of your head to your neck. Then, part a horizontal line from the top of your left ear, and drag it over to the top of your right ear. Clip these sections with your hair clips to keep them separated.
2. Mix your lightener: If you have previously lightened hair, you should not do this second step, Norris warns. Applying bleach to already lightened hair can cause breakage. So, proceed if you are starting with a natural or darkened base.
Use an equal amount of lightener as you do developer. (Norris suggests using a food-measuring scale, if you’ve got one.) You will use your two mixing bowls for this step. The first bowl will be for your roots (the first 1” of the hair from your scalp), and the second bowl will be for the rest of your hair.
3. For the roots, use the lower developer: Remember how you stocked up on two different types of developer? The bowl for your roots will be the lower developer you grabbed (either the 20 or the 30 depending on your natural hair’s lightness). Apply the product at the first inch throughout each of the 4 sections using fine enough sections that you could see through well enough to read a book.
4. Mix up the second bowl: After the root application, you’ll move on to the darker of your two developers (either the 30 or 40 depending on your hair color level). You will apply this in sections as fine as you did previously (thin enough to see through and read a book). This ensures an even saturation, Norris notes.
5. Let the lightener process for 30-50 minutes: Your hair’s color will determine processing time. Light hair requires less time, whereas medium to dark hair requires more time. Use the 30-50 minute scale according to that color grade.
6. Check up on it: After 30 minutes, using the back of your comb, press a little bit of the product away from the scalp. If the color is a pale yellow, like the inside of a banana, then you’re ready to rinse. If it’s darker, then add 10-20 minutes for more processing.
7. Perform a strand test: Pull a small section of the ends (lightly!), and see if they stretch. If the strands are strong then the hair’s integrity is intact. If the ends stretch like a rubber band, then the bonds have been broken and your hair is very weak. If that’s the case, shampoo out immediately.
Have a maintenance plan
That hair won’t stay toned and balanced on its own. Maintaining bleach-blonde hair is a delicate balance, given all of the variables that can lead to yellow or brassy tones. Here are the products you should have ready.
- Toning shampoo and conditioner: You can use a toning shampoo and conditioner to maintain that pearly blonde hue (often purple in color), but don’t overly use them. Once every other week is ideal. The rest of your washes should be with your regular sulfate/paraben-free products.
- Protein treatment: This keeps hair strong by rebuilding broken bonds (which were compromised in the lifting process). Norris likes Redken’s CAT spray. Spray it into your hair after stepping out of the shower & comb it through with a wet brush.
- Moisturizing cream: This prevents dry, split ends, as well as further breakage, says Norris.
Touch up the roots
Assuming everything went as planned, Norris says you should do a root touch up every 4-5 weeks. And in line with not re-lightening anything previously bleached, you must only apply this lightener to the new growth, You risk severe breakage otherwise.
It’s never too late to see a professional
“If things don’t go your way, don’t hesitate to make a salon appointment,” Norris advises. “Professional hair stylists have a vast knowledge in how to safely lighten your hair without compromising its integrity. So if something doesn’t go right during the DIY project, then they’ll know how to fix it.”
Not to mention, even if you follow these steps, there may be an unforeseen variable that impacts your results. Things like hair history, amount of grey, previous dyes/lightens, certain medications, mineral deposits in the water…these can all impact the end result. Have your salon on standby for a fix, just in case you need it.