What you’ll need:
- Your favorite pre-shampoo mask
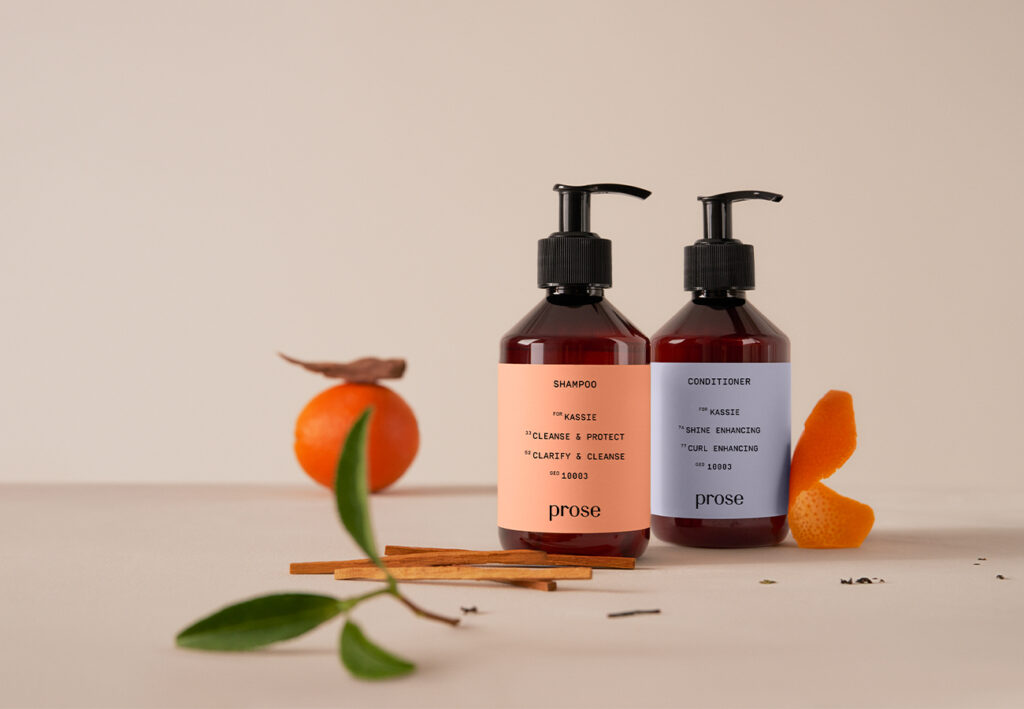
- Your favorite shampoo and conditioner
- Fine toothed rat tail comb
- Hair clips (both large & small)
- Round hair brush
- Blow dryer
- Hairspray
- Hair oil (optional)
Step 1:
Wondering what the best blowout hair products are? Before you start your blowout, treat your hair with an intensive hair mask. This will nourish your ends and provide you with a smooth foundation to work with.
Pro Tip: Leave your pre-shampoo hair mask or regular hair mask in for 15-30 minutes before cleansing for extra nourishment.
Step 2:
Cleanse your hair, then condition with a hydrating formula that won’t weigh your hair down.
Step 3:
Dry hair with a microfiber towel to reduce any damage to your ends.
Pro Tip: Make sure to apply heat protection before you begin blow-drying.
Step 4:
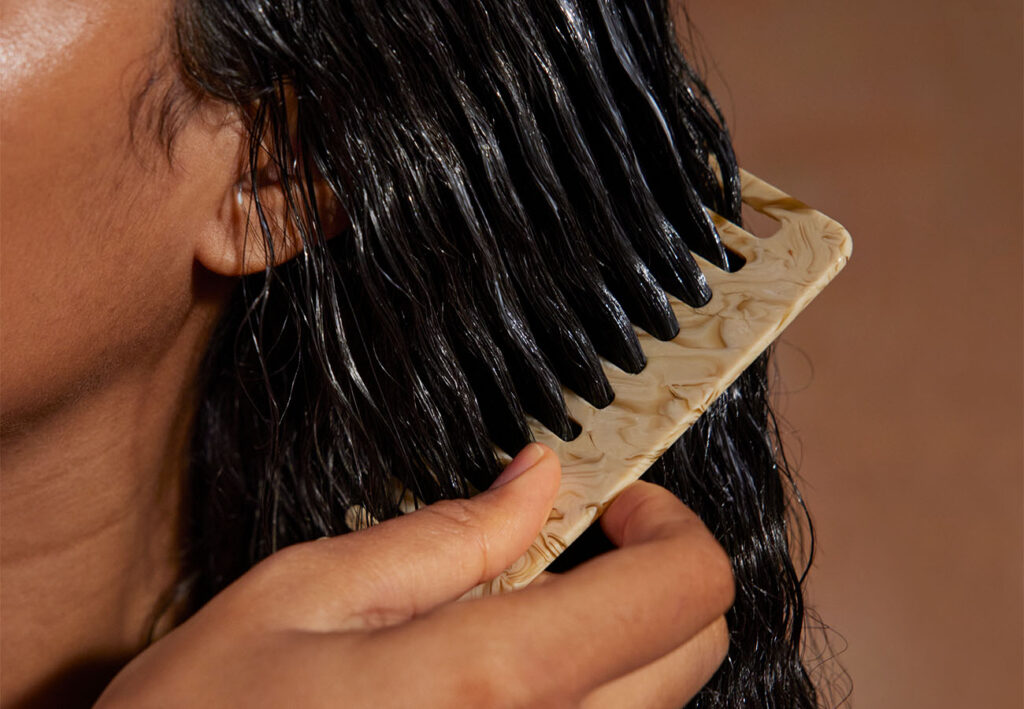
With a comb, section off hair at the crown of your head in the shape of a triangle, and pin that section up into a small bun.
Step 5:
Part the rest of your hair into smaller, manageable sections.
Step 6:
Unpin the section of hair on the top of your head and use a round brush to add tension to hair, while holding in an upward “V” position. Start blow drying from your root working your way up to your ends, in an upward direction.
Pro Tip: Roll your round brush through your hair while blow-drying to provide your strands with a flat surface that will straighten as you go along. Roll the finished section and clip with a smaller hair clip, and then continue to blow dry the rest of your strands for bounce and volume.
Step 7:
Begin blow-drying the rest of your sections.
Pro Tip: Wind the sections of hair around your brush to create allover volume and a small curl at the ends. Drying your hair with the curls away from your face allows your strands to naturally frame your face.
Step 8:
Blast with cool air to lock the hair in place.
Step 9:
Tame any fly-ways with your favorite hairspray or hair oil.
Pro Tip: Apply your styler to your hands and use your fingers to smooth in product for more control over your flyaways. Voilee, you’ve mastered the perfect blowout at home!
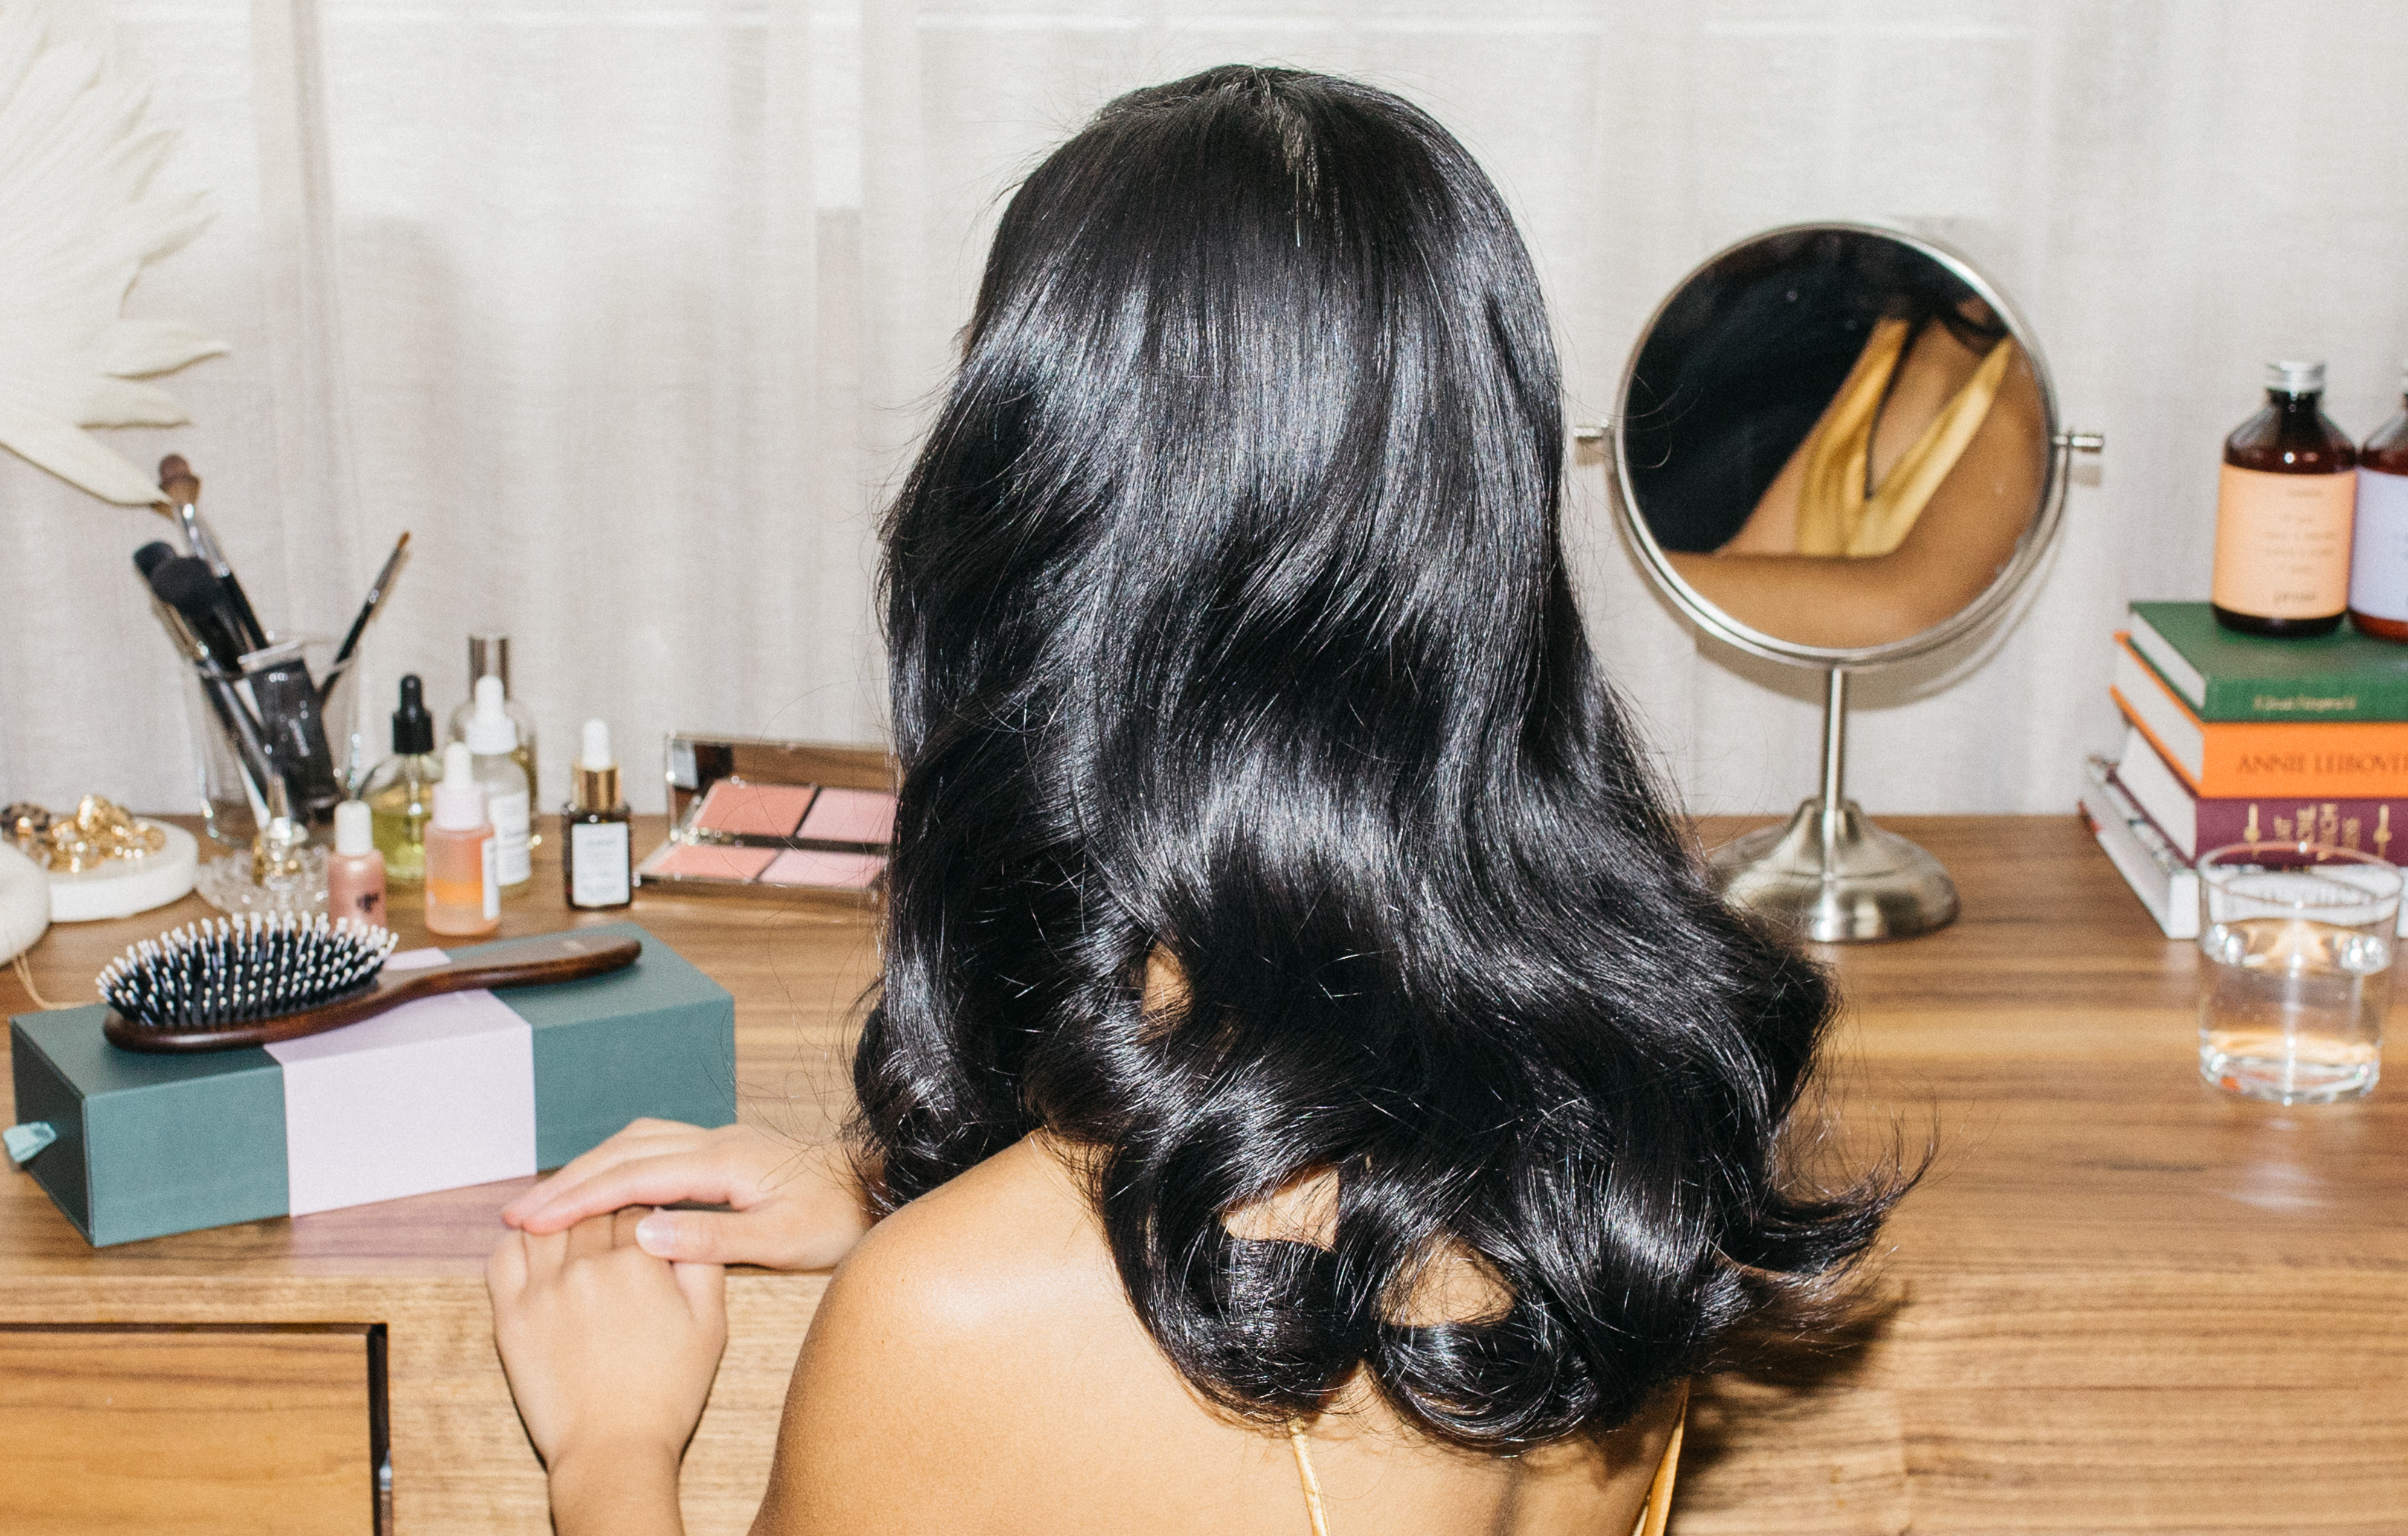
Ensuring your blowout hair looks as great as when you have it done at the salon is actually pretty simple with the right home tips and tricks!


