Where to buy hair
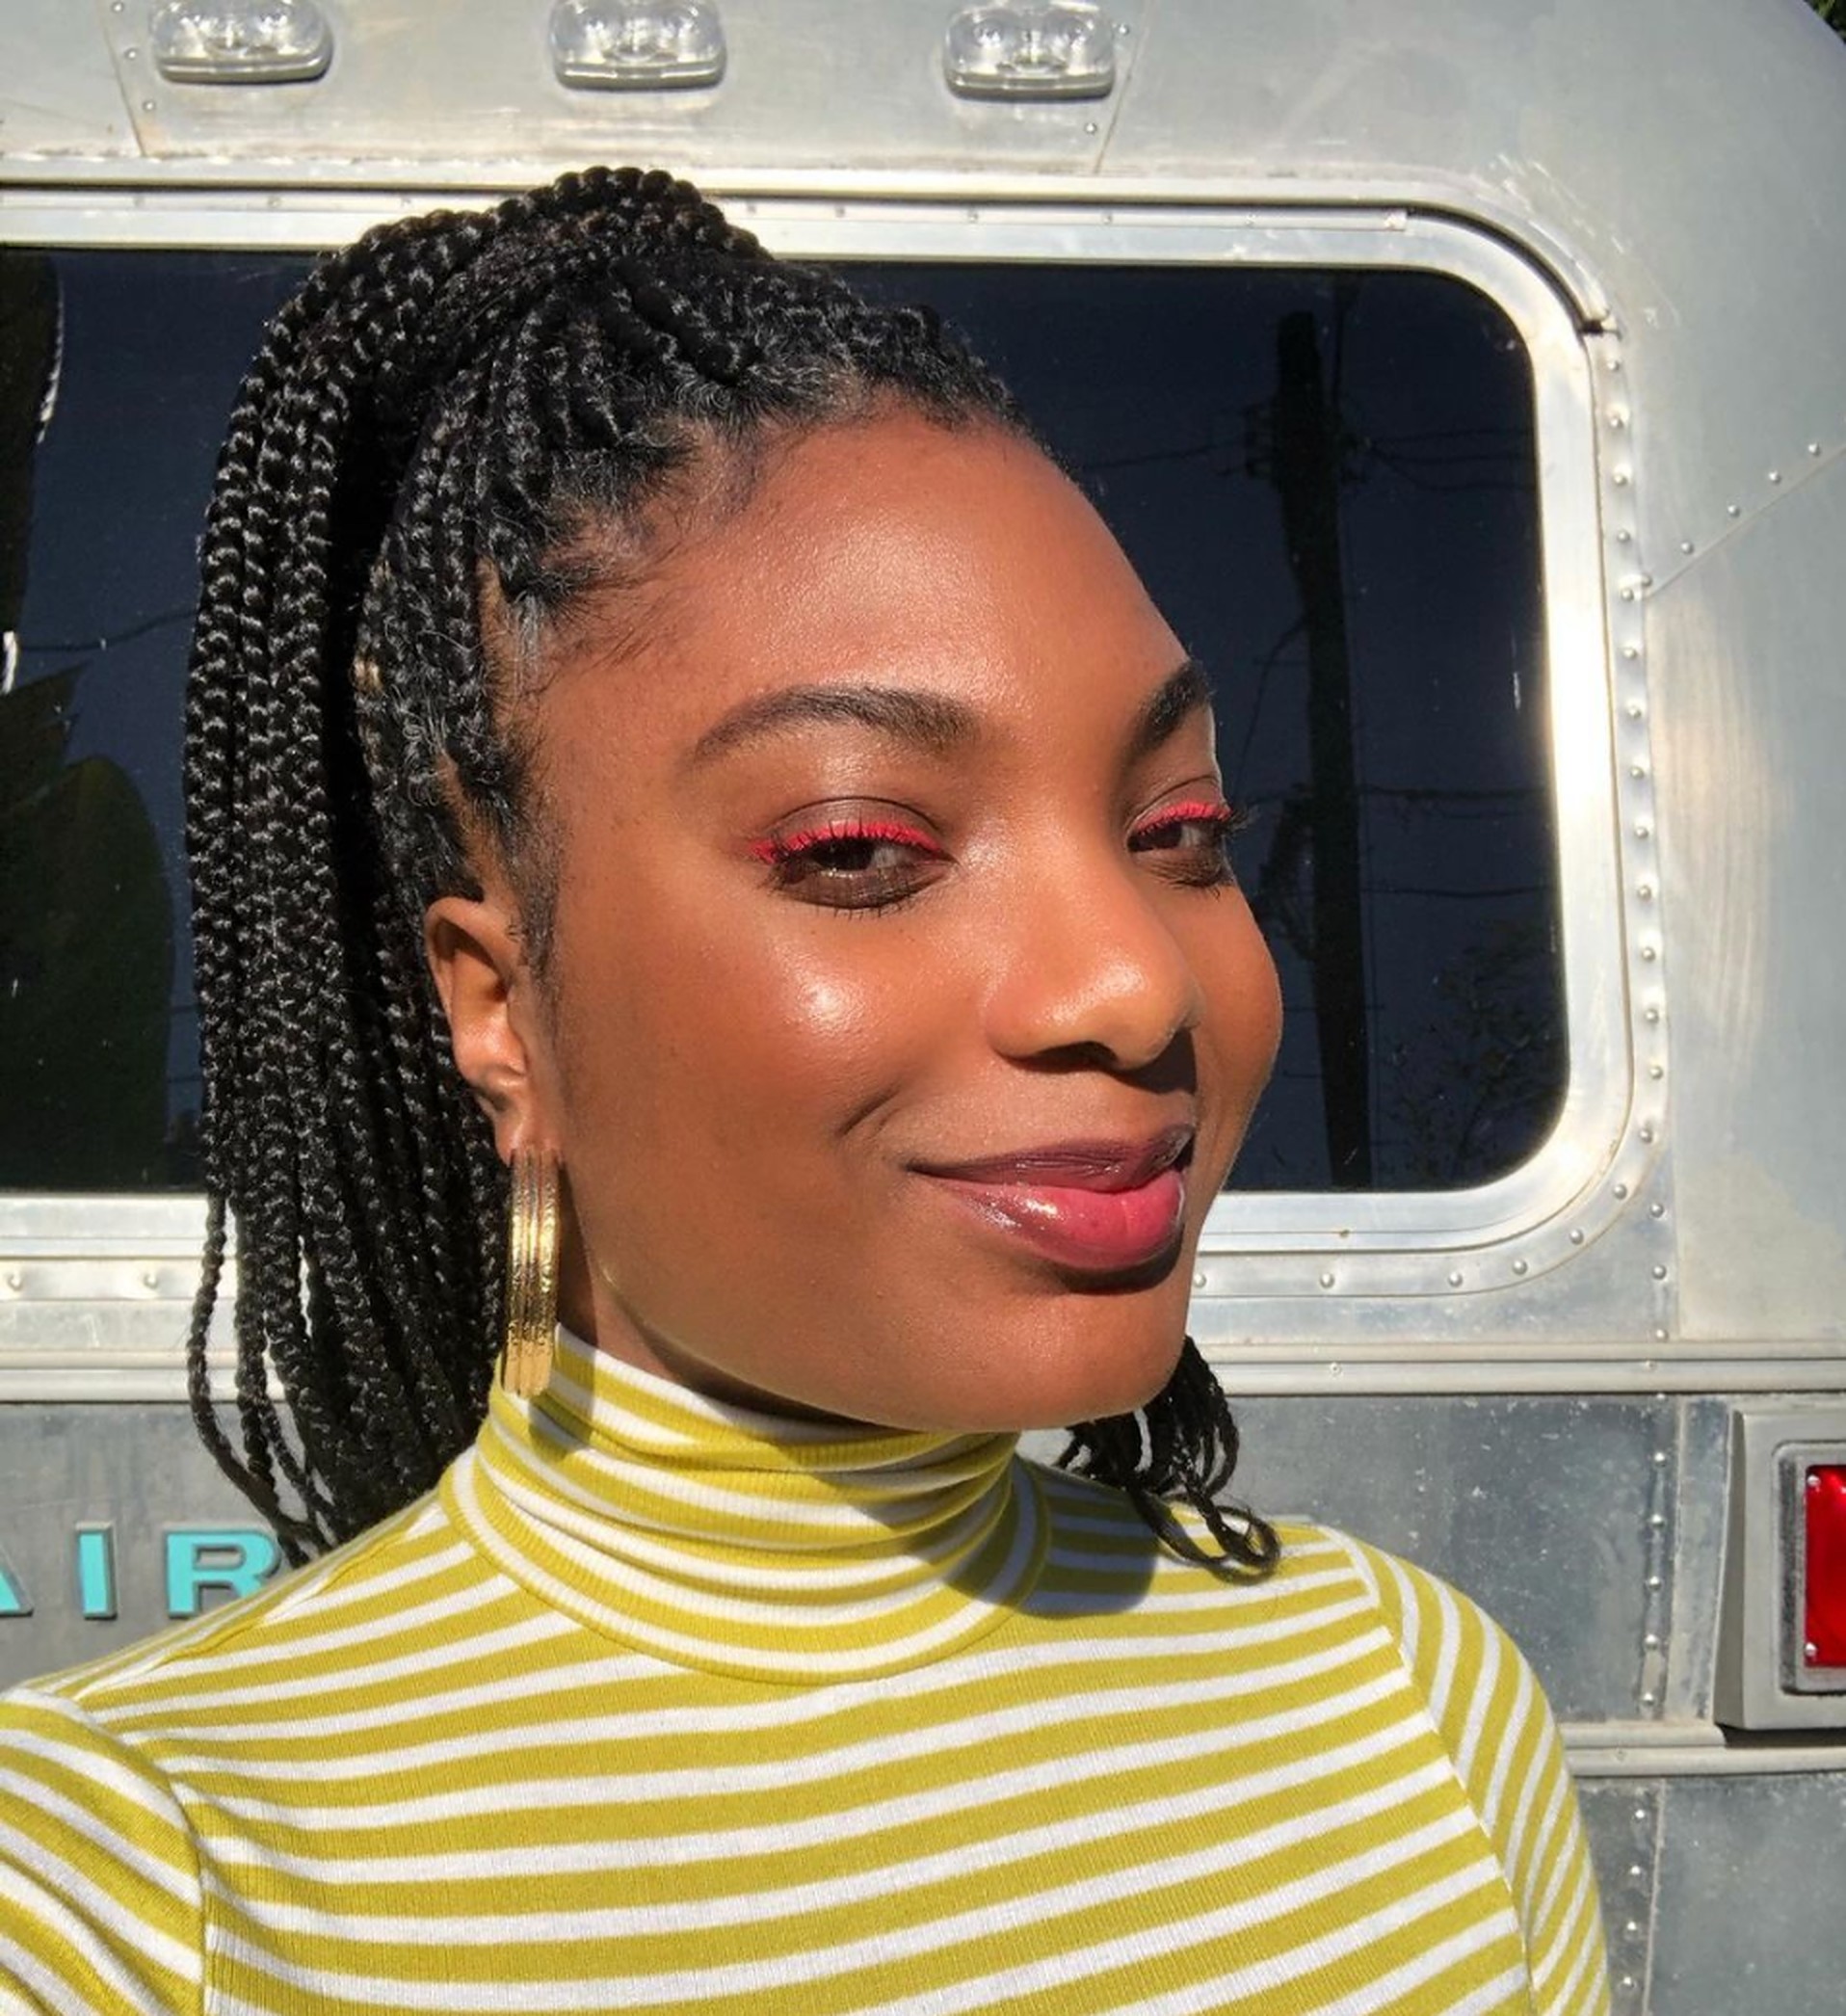
Finding the right match for your hair color is typically pretty simple if yours is one hue. On the other hand, if your hair is highlighted, finding the right match might present a challenge. However, a quick video consultation with your hairstylist or a close friend who wears protective styles can help. There are quite a few options for purchasing braiding hair. If you want a variety without the cost of shipping, your local beauty supply store is your best bet. Online retailers like Amazon offer various options with customer reviews. While Black-owned online retailers like BeautyBeez provide a small yet mighty collection.
What tools to use for braiding
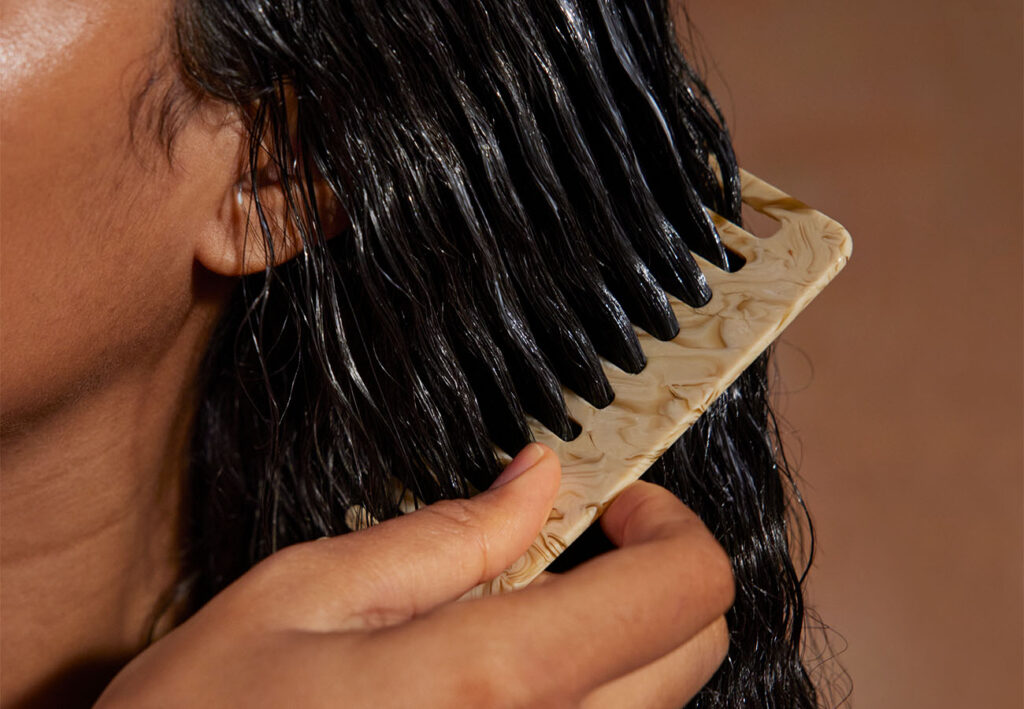
Having the right tools on hand can make a difference in your DIY braiding experience. For starters, we recommend investing in a braid rack to help keep you organized and your braiding hair tangle-free. Next up, you’ll want to have a rat-tailed comb, alligator hair clips, four to five packs of pre-stretch kanekalon braiding hair, a pomade like Shine N Jam Magic Fingers, and mousse.
How to prep hair
Prepping the hair for protective styling is essential. Starting with clean, well-conditioned, stretched hair is a must. That means deep conditioning for at least 30 minutes and blow-drying the hair on low to medium heat with a heat protectant applied. Next, section the hair into four to six sections depending on your hair’s density and length.
The installation technique
Before you get started, make sure you set aside enough time (and patience) to braid your hair. When the pros install braids, the process can take up to eight hours. With that in mind, if this is your first experience braiding your hair, give yourself some grace; as some DIYers share, it can take a few days to finish the process. Now it’s time for the fun part: braiding.
For each section of hair, your first step will be applying pomade to your hair’s root before installing the braiding hair—this prevents frizz or bumps. Depending on your hair type, you may need to apply additional pomade to your ends to ensure your natural hair blends in with the braiding hair without sticking out. When it comes to the braiding technique, we think this is an area where showing is better than telling. Here are a few videos that breakdown the step-by-step process of installing braiding hair from root to end.
It may take a few tries to find the best technique for you, so don’t get discouraged. We promise you’ll get the hang of it with some practice. Once the braids are installed, apply mousse from the root to the length of your natural hair, then dip your ends in hot water to seal them.
Have realistic expectations
You might find that you have a natural talent for hair after your first at-home braiding experience. However, if you end up with less than perfect parts or visibly bumpy braids, we want you to know you aren’t alone. You will get better. Think about it; experience is how expert braiders become a master of their craft. It rarely happens overnight.
Braiding aftercare
Since the knotless braiding technique is easier on the scalp and edges, you shouldn’t feel too much tension post-installation. However, we want to encourage you to take care of your scalp and hair the same way you would if your hair was in its natural state. Washing and conditioning weekly is still essential even with protective styling.
Treating your scalp might seem like a challenge, but we have a pro-tip: place your shampoo in a nozzled bottle. This way, you can get the shampoo to your scalp without disrupting your braids. Once the shampoo is applied, use the pads of your finger to gently massage the scalp and rinse. When conditioning, apply the treatment to the lengths of your hair and rinse thoroughly to prevent buildup.
After completing your wash day routine, spray on a leave-in conditioner and wrap your braids in a t-shirt or microfiber towel for up to twenty minutes to soak up the water. If you notice frizz cropping up, apply mousse to the roots and length of your braids, tie the base of your head in a silk or satin scarf, and sit under a hooded dryer. This simple technique should wipe out that frizz and leave you with freshly-washed, hydrated hair.


